One of the problems I’ve found with photo etch is that paint doesn’t stick to it very well due to the very shiny finish. Ideally you should use an etching primer that bites into the surface before curing but I didn’t have any of that around so I had a go at replicating the process instead.
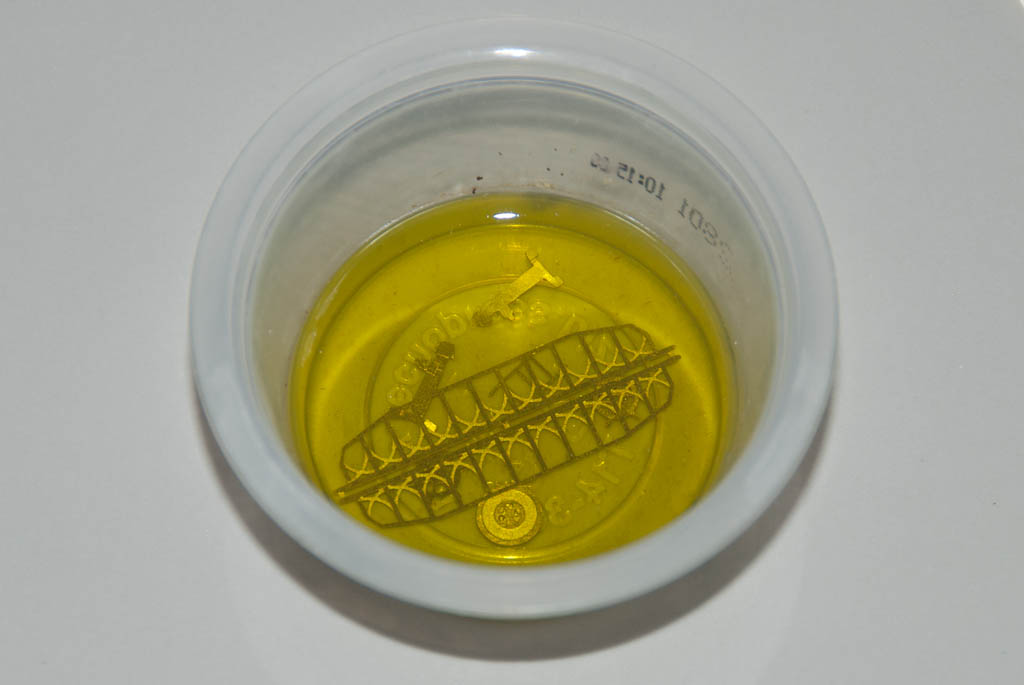
I had some Ferric Chloride left over from etching some prototype PCBs many years ago, so I used a few drops to make a much much weaker solution than would normally be used – all I wanted was to cut into the metal surface microscopically, not dissolve it away.
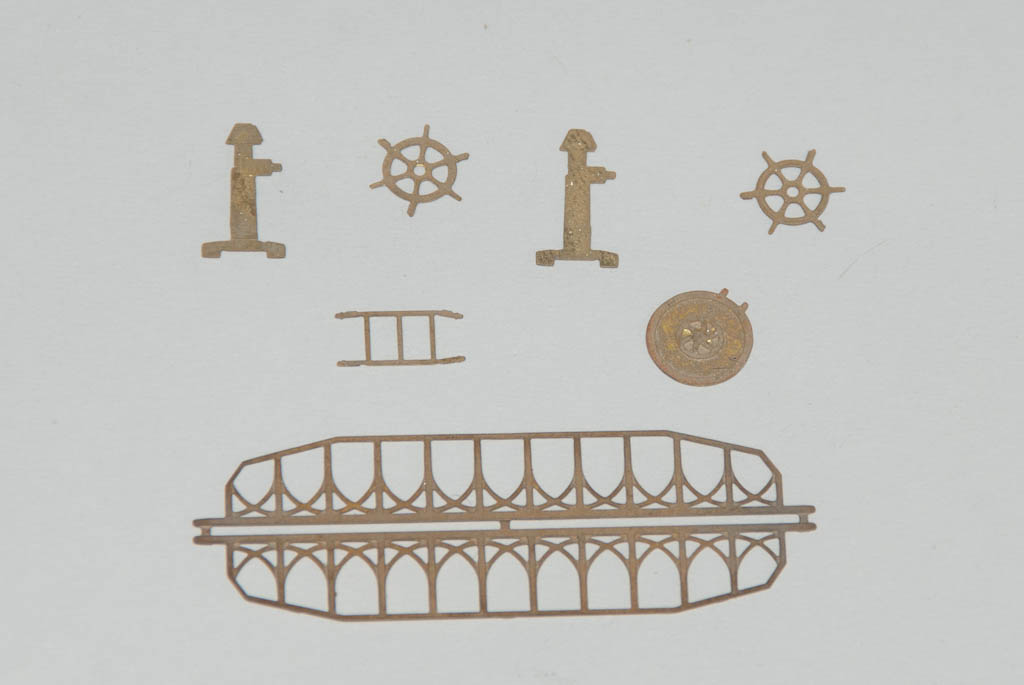
After a 30 minute soak, then good wash, the parts had a nice tarnished and very matt surface. This allows regular primer to stick very well indeed.

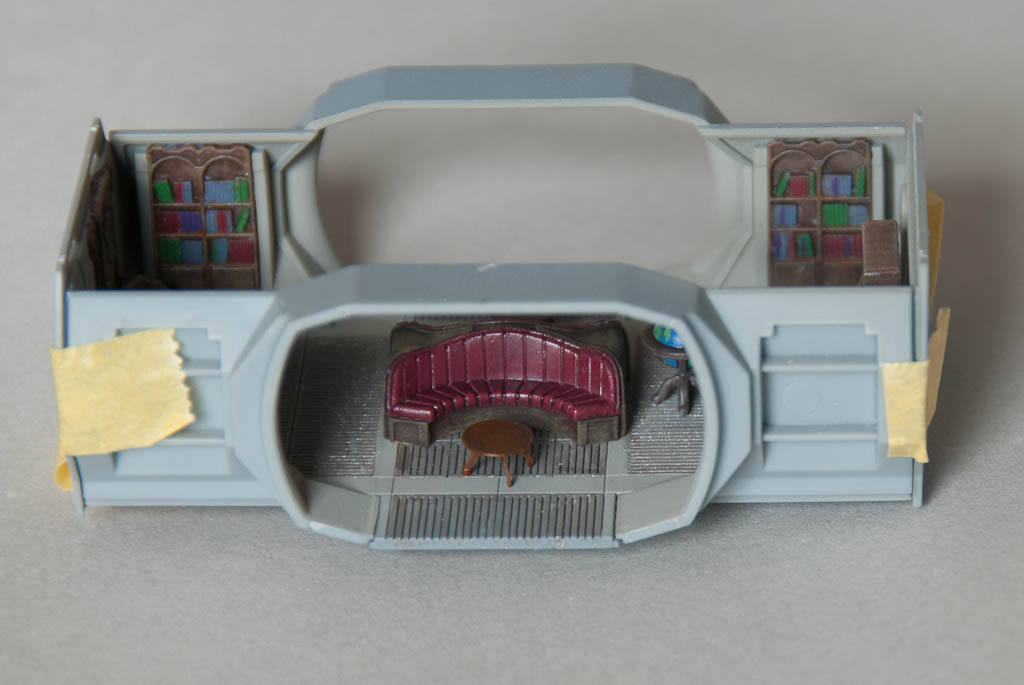
Painting of the lounge proceeded. I went for a fairly basic colour scheme, light gray/green for the walls, oily steel for the floor plates and dark brown for the woodwork, with red leather covering on the sofa & chair. The books were blocked out in a range of colours with just the odd one out of place to jumble things up. I had to keep telling myself most of this will not be visible!

A quick test with the lights overhead verified that some of it will be visible – although there is still the main window panels to go in yet which will restrict sight further. I don’t think I will use the PE storm shutters on the windows.
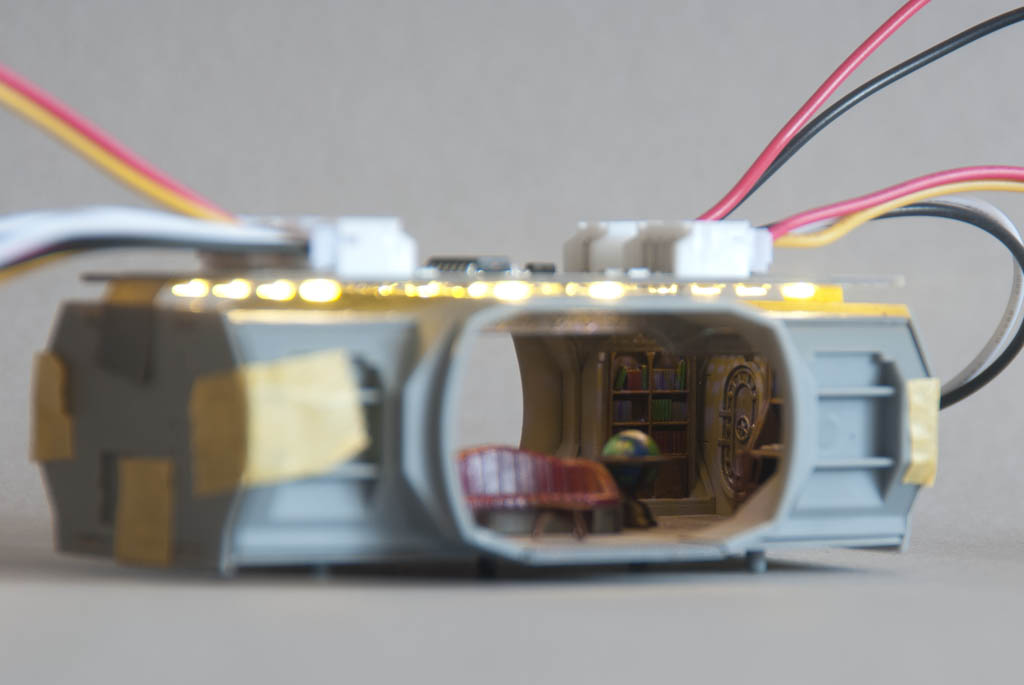

I also shot a short video showing some typical lighting sequences – these have been shortened for the video, I will probably leave a minute or so between changes in the final model.