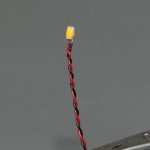
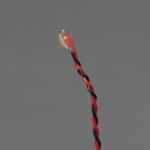
The original plan was to use 3mm LEDs in the spotlight and wheelhouse, but after playing around for a while I concluded they were going to be too big. The solution was to use a couple more surface mount LEDs but soldered onto wires to make super small freestanding lights. Using 1206 sized packages it’s still possible to manually solder single core wire-wrap wire onto the contacts with a fine point soldering iron bit. Holding the LED in some reverse action tweezers (the sort that grip til you squeeze them) really helps for this bit.
Once the wires were soldered, a small blob of clear 5-min epoxy was used to bind everything together securely.
I decided to scratch-build a new searchlight from a 2mm length of 3mm I/D styrene tube. The LED sits at the back of this perfectly after a small notch was filed in the back end for the wires. The grille on the front of the searchlight was replicated by gluing 3 very thin styrene rods across the front end of the tube. Once the glue had hardened, the excess rod was trimmed off and the edges sanded flush with the tube.
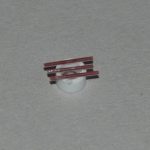
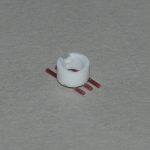
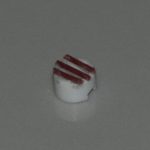
After priming, the inside was painted silver to help reflect the light. The LED was glued in place with more 5-min epoxy and once set, a small cone of Miliput was added to the back to match the original kit part.
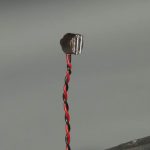
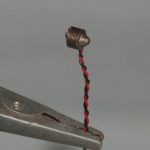
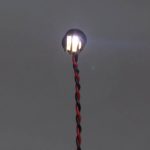
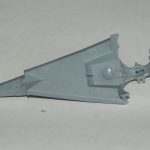
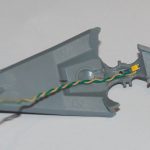
The hole where the searchlight mounts on the wheelhouse roof was drilled through so the wires can pass inside when the light is attached.
A second wired LED was glued onto the ceiling of the wheelhouse just a bit further back than where the searchlight wires will come in. The wiring for both was then routed forwards along the ceiling and into 2 groves cut into the ceiling where the wall of the photoetch wheelhouse assembly will fit.
Very nice! Is this a lighting kit you will make available for sale?
Thanks. Hope to have a few available soonish