Pegasus Nautilus Part 3

<< Part 2

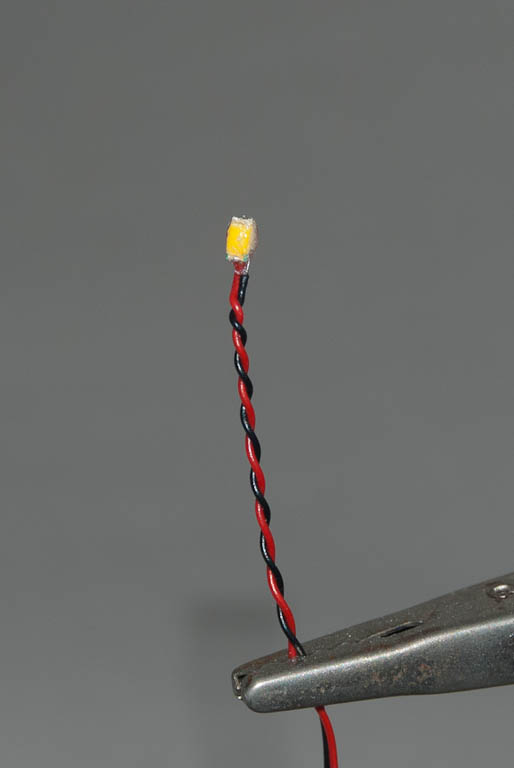
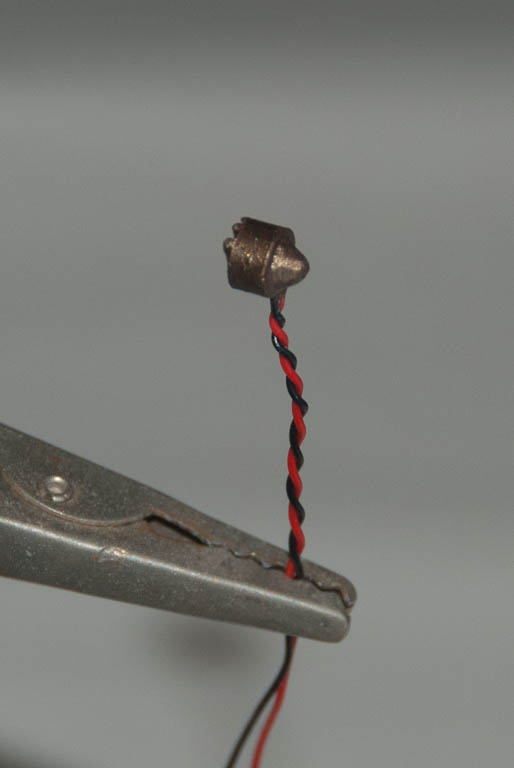
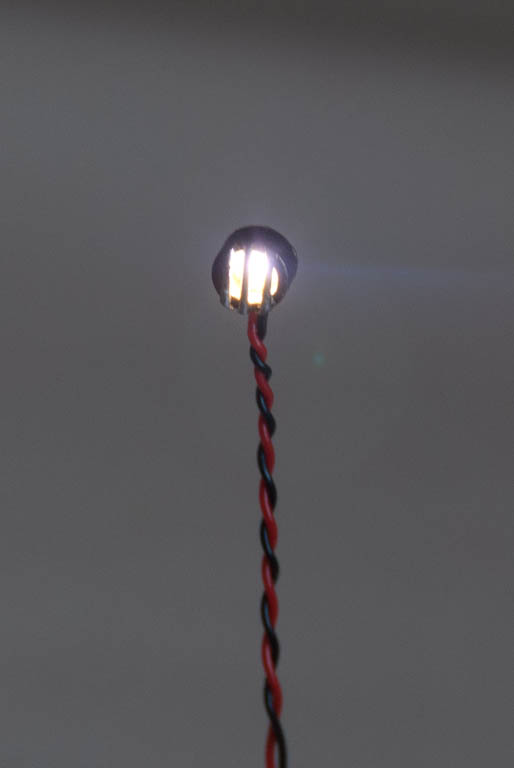
The original plan was to use 3mm LEDs in the spotlight and wheelhouse, but after playing around for a while I concluded they were going to be too big. The solution was to use a couple more surface mount LEDs but soldered onto wires to make super small freestanding lights. Using 1206 sized packages it’s still possible to manually solder single core wire-wrap wire onto the contacts with a fine point soldering iron bit. Holding the LED in some reverse action tweezers (the sort that grip til you squeeze them) really helps for this bit.
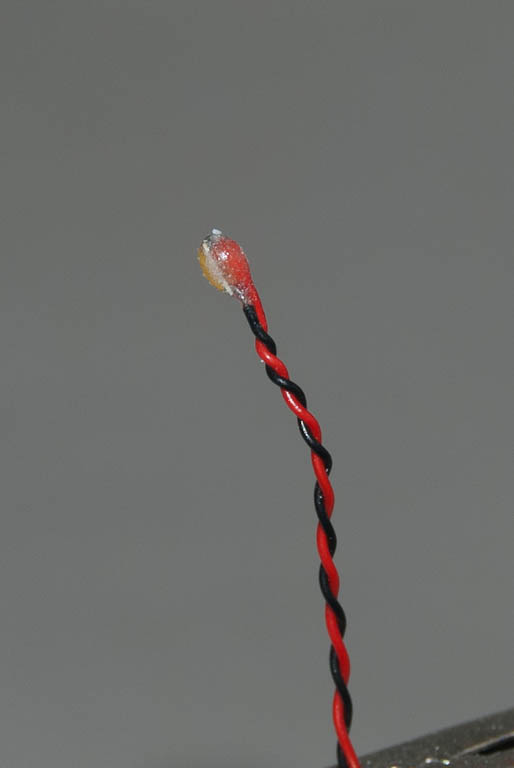
Once the wires were soldered, a small blob of clear 5-min epoxy was used to bind everything together securely.

DSC_8684 DSC_8685
I decided to scratch-build a new searchlight from a 2mm length of 3mm I/D styrene tube. The LED sits at the back of this perfectly after a small notch was filed in the back end for the wires. The grille on the front of the searchlight was replicated by gluing 3 very thin styrene rods across the front end of the tube. Once the glue had hardened, the excess rod was trimmed off and the edges sanded flush with the tube.
DSC_8679 DSC_8682 DSC_8720
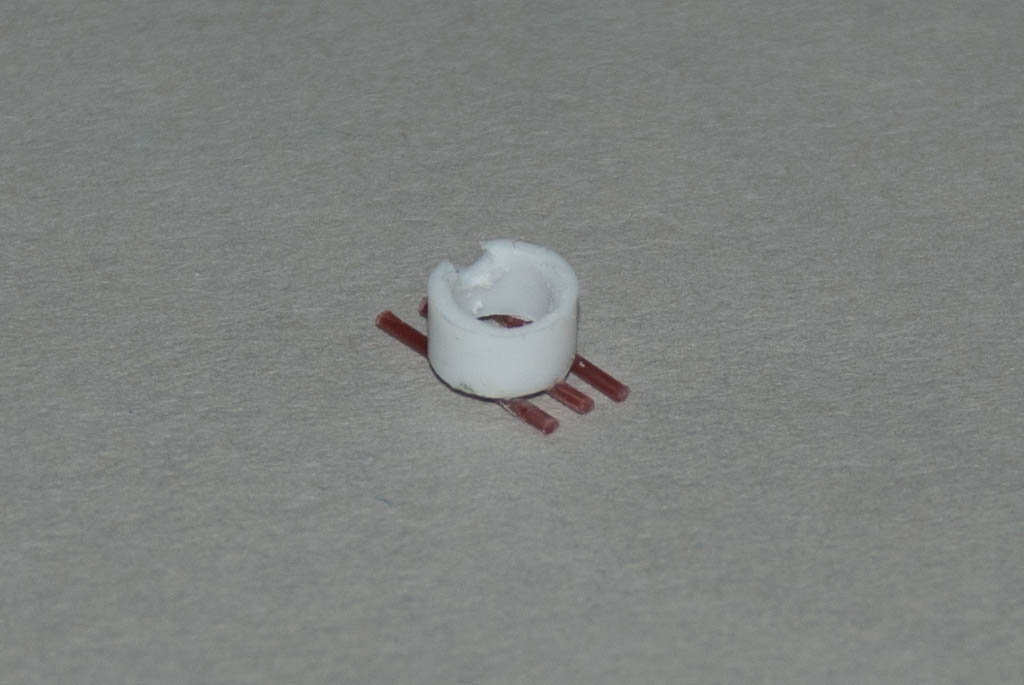
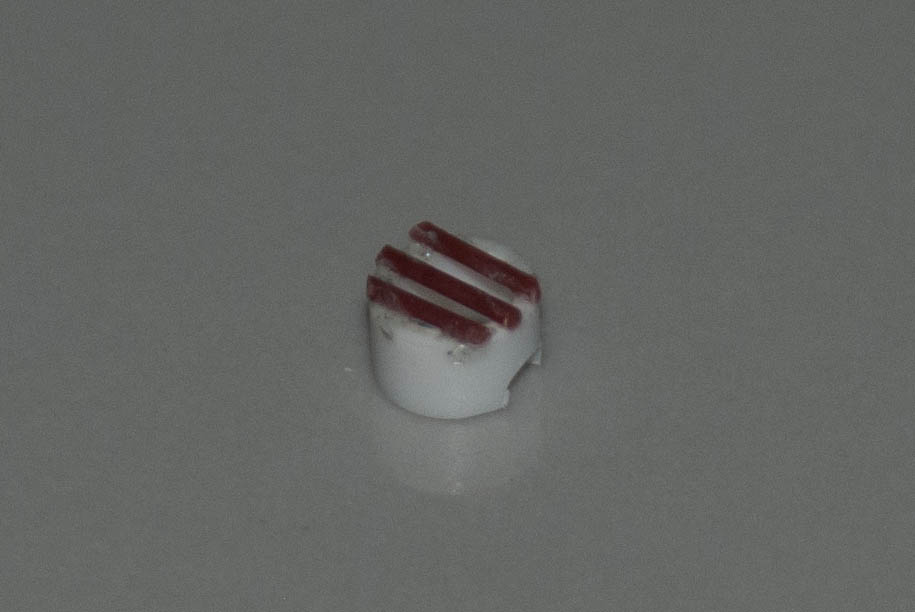
After priming, the inside was painted silver to help reflect the light. The LED was glued in place with more 5-min epoxy and once set, a small cone of Miliput was added to the back to match the original kit part.
DSC_8727 DSC_8728 DSC_8729
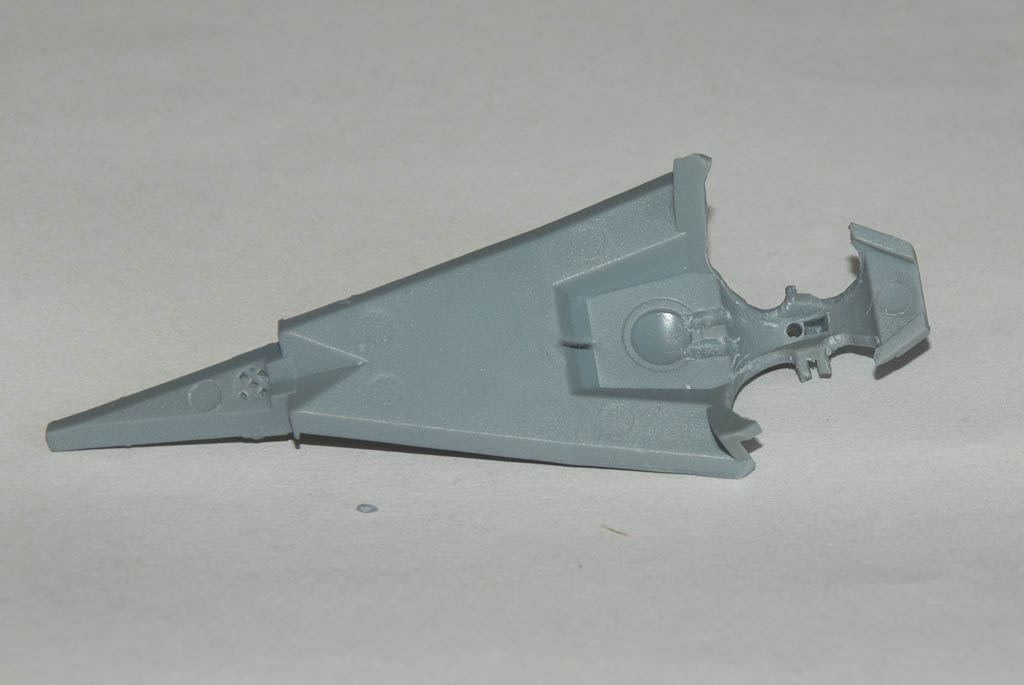
The hole where the searchlight mounts on the wheelhouse roof was drilled through so the wires can pass inside when the light is attached.
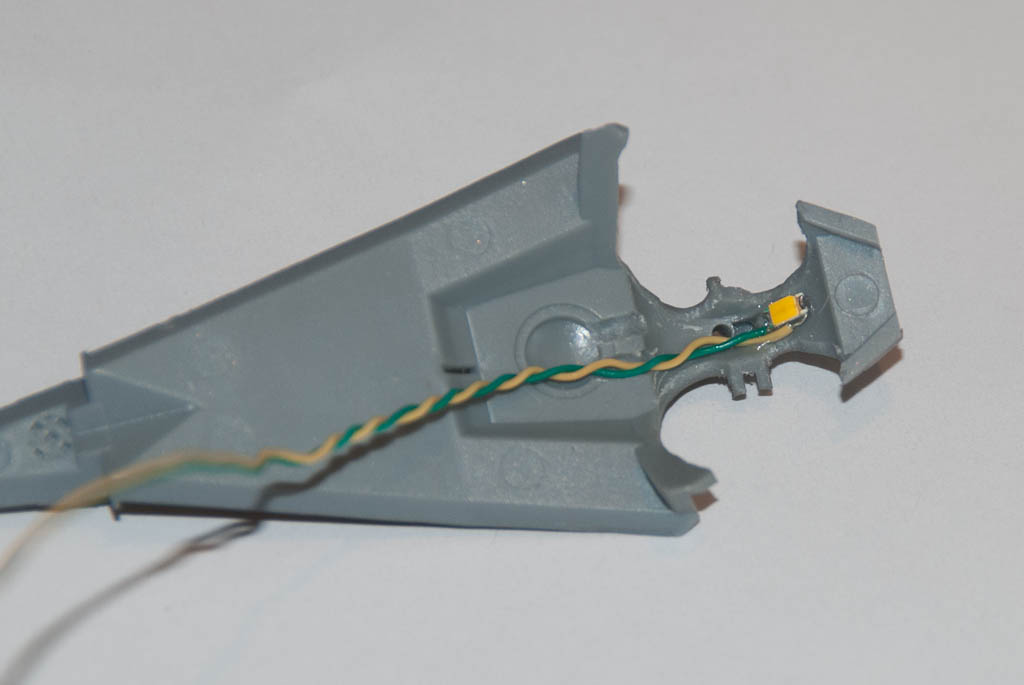
A second wired LED was glued onto the ceiling of the wheelhouse just a bit further back than where the searchlight wires will come in. The wiring for both was then routed forwards along the ceiling and into 2 groves cut into the ceiling where the wall of the photoetch wheelhouse assembly will fit.
DSC_8732 DSC_8733

Beacon Prototype 3

<< Part 1

3rd time’s a charm…

Stuck with 1206 size because I had some bright whites kicking around, but made a tiny little jig out of plasticard that holds each LED at 30 degrees so that some of the light shines up and prevents a dead spot when looking from above. Also tweaked the fade timing slightly so there is more of a spot moving around.

Rotating Beacon Prototypes

I’ve tried to do this before and failed, but perseverance pays off in the end. The first one uses 4 PLCC2 surface mount LEDs glued around a bit of 5mm dia styrene tube. All the anodes are connected at the top to a wire that runs trough the tube. A wire is soldered to each cathode separately.

The whole assembly is very fragile, so liberal amounts of 5 min epoxy were daubed between the LEDS and over the top connection. A collar of 6mm tube was slid over the wires at the bottom and this was filled with epoxy too.

The LEDs were connected to a microcontroller running each light in sequence (with a bit of fade-off to blend each LED into the next to try and help create a more continuous effect rather than discrete lamps. The overall size is about 8mm dia.

Having made the PLCC2 version I went smaller. Using some 2106 sized LEDs as used in the Cylon Raider module, I stuck these to a piece of 0.6mm square styrene and connected up in a similar way but using single core wire-wrap wire (much smaller). Although exponentially more fiddly to solder, the result is a beacon that is about the same size as a standard 5mm LED!

Unfortunately these particular LEDs are not very bright, so while proving the concept, I will need something better. Moving to an 0805 size package opens up a larger selection of brightnesses so that will be version 3.

Part 2 >>