Alpha UFO Lighting Module Version 2

Having done some work recently with the Atmel ATTiny 84 microcontroller in a SOIC surface mount package, I had a casual thought back to the lighting module I did for the Pegasus Alpha Centauri UFO kit a couple of years ago – namely “could I now get all the control circuitry for animating the LEDs onto the same PCB inside the UFO.

After several weeks of fiddling with the design, the answer is a resounding yes!.

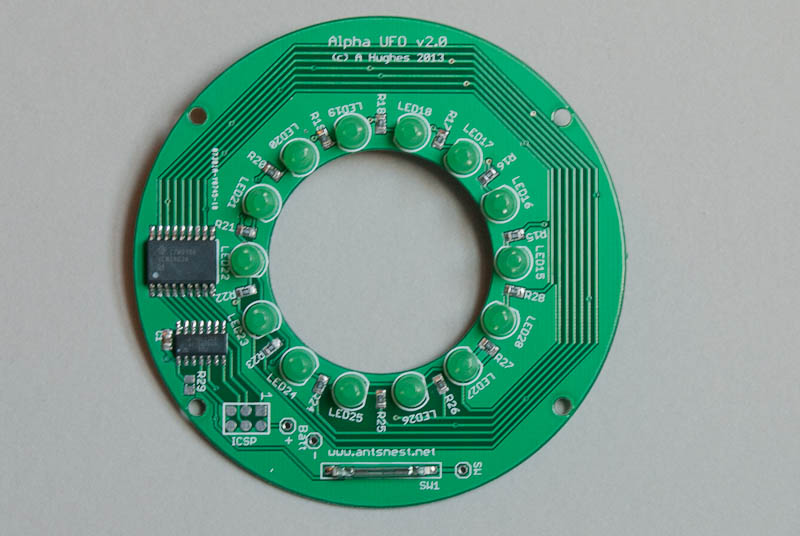
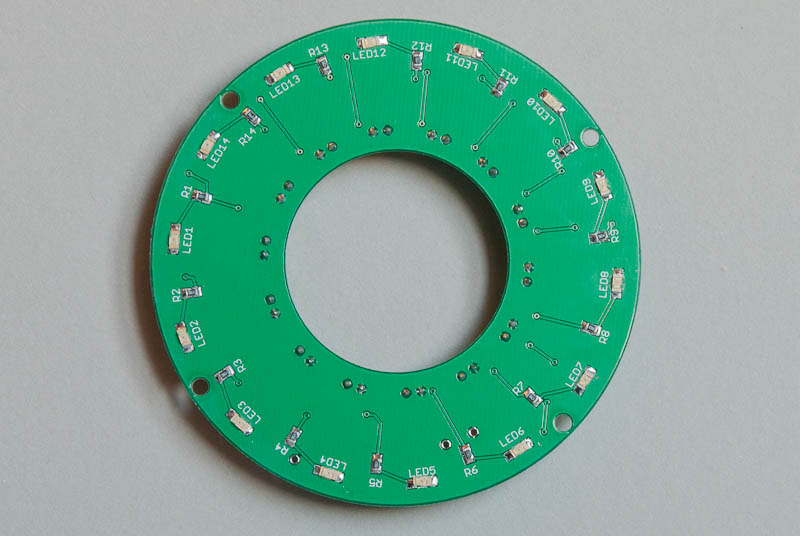
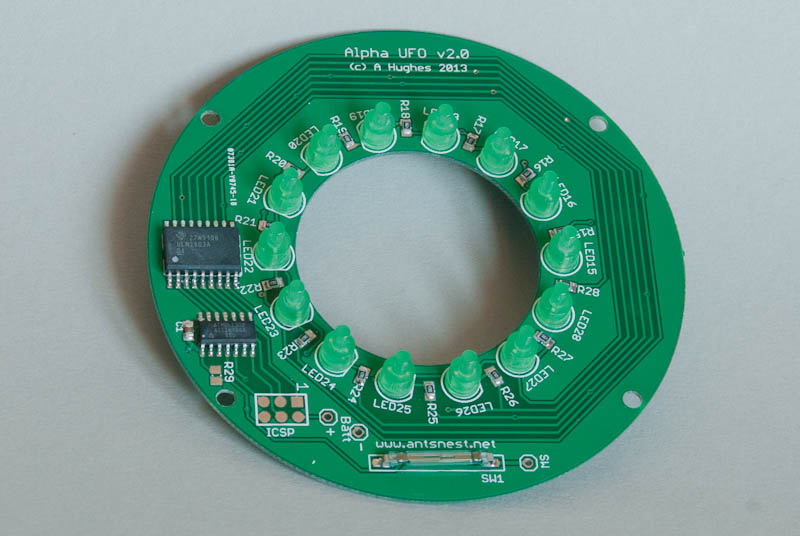
So here is V2. Totally self contained. Everything is on the one PCB that just drops into the UFO around the centre crew compartment. The mode selection switch has even been incorporated as a magnetically operated reed switch on the board. Just wave a magnet over the part of the saucer that is resides under to switch between all the lighting modes, or low power standby.

Ok there’s one caveat. There’s still no room for a battery, so a couple of leads still have to be attached to an external 4.5V supply – 3AAA’s which should be good for a couple of days continuous operation.

DSC_3369DSC_3370DSC_3372

Here is it in action

Alpha UFO Module

Here’s some quick updates on the Alpha UFO project. I’ve connected the lighting module to the LED driver module using 8 strands of wire-wrap wire – this is about the thinnest insulated wire going (yes I know enamelled wire can be thinner, but it’s much more fiddly to remove the coating).

Here the top has been popped back on over the LEDs.

I’ve shot a short video to show the modules in action – for now I’ve just let the wires dangle out between the saucer halves. The wires could all be bunched together and fed down a much smaller plastic tube than in my original attempt.


Alpha UFO PCB Assembly

First test assembly went well. Soldering the SMDs wasn’t too bad once I’d worked out a strategy. They were added first, while the PCB could be held flat. You can just make out the SMD resistors in the picture – they are only 2mm long and 1.5mm wide! After that the top LEDs were added. These are 2.4mm “lighthouse” types that poke through the holes in the upper half of the UFO perfectly. The first UFO I did had green lights so I chose yellow for this one.

The bottom LEDS were added next – these are more tricky because they are bent almost flat with the PCB but such that they still point out of the windows in the bottom half of the UFO.

The PCB itself sits neatly inside the UFO. There are 8 connections to the controller board (seen at the right of the picture below) that must be brought out to the external controller which provides the animation. In the previous incarnation, these were fed through a small hole cut in the bottom and down a tube that was also used to hold the UFO aloft.

A quick electrical test revealed everything was working as expected! Amazing! I wasn’t expecting to get the layout perfect the first time. A satisfying day in all.

Alpha UFO PCB

Things are looking up! The fab house had no problem making the donut shaped PCB and I’ve just received the first batch.

And what’s more, they actually fit in the saucer!

The next job is to build one up and make sure it still fits with all the components added – that’s still a gamble. I’ve gone for surface mount resistors to save space, but after checking and checking, the one thing I didn’t notice until just after I sent the design off is that I’ve used the smaller 0805 package rather than the intended 1206 package which means they will be even more fiddly to hand solder.

Alpha Centauri UFO Lighting

Back in 2010 I added some custom lighting to the Pegasus Alpha Centauri UFO using one of my LED driver modules. There is very little space inside the UFO body, so the controller had to be housed externally and there was only just enough room to wire up all the LEDs as you can see here (not the neatest wiring in the world!) 

 At the time I was thinking about producing a PCB to hold all the components and turn it into a neat drop in unit, but never took it further. A recent conversation with an interested party has brought this off the back burner again and after spending a couple of hours messing around with layouts I’ve come up with the following (paper) prototype.

 I was originally planning on using surface mount LEDs but there was an issue with the way the ‘portholes’ in the bottom of the saucer are at an angle which meant the light would not be even. After some head scratching I came up with a possible workaround using standard through hole LEDs that should solve this.

The next possible showstopper is whether I can get the boards made up at a viable price. Many of the ‘cheap’ low volume prototype fab-houses have a lot of restrictions on what you can get away with, and a round board with a big hole in the middle may be pushing things too far. We shall see…