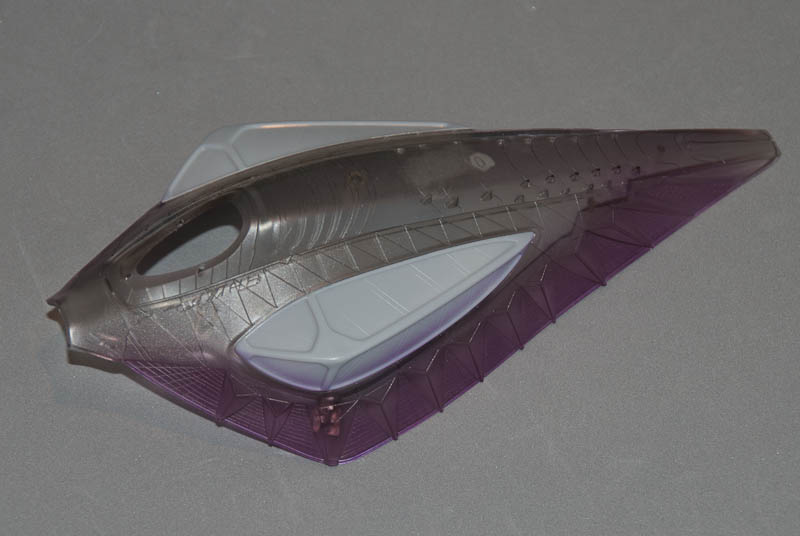
This was a Christmas present from Kathy and another project ripe for lighting. The top piece of the hood is moulded in smoky clear plastic which is a really nice touch. Studying the film, there is a pinky-purple light that is visible through the triangles along the edge of the hood, with the rest being metallic – although the triangles between the purple triangles appear to be semi-metalic, semi-translucent if you look carefully!
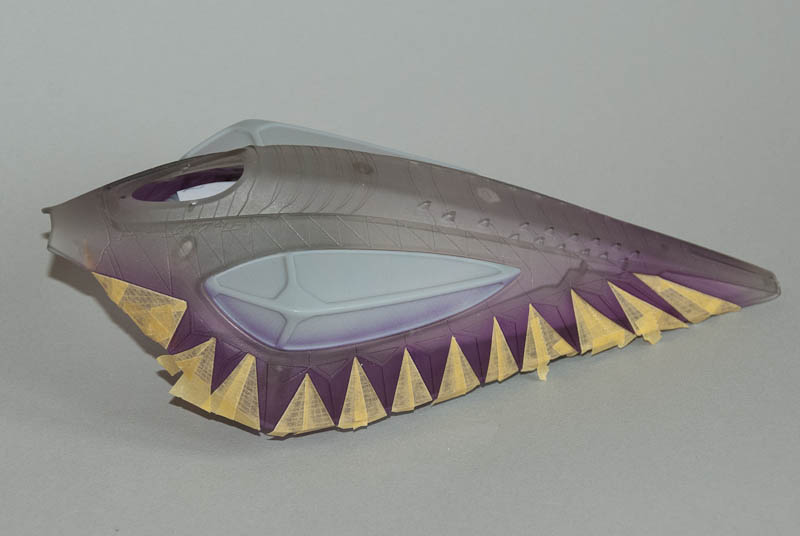
I started with a light coat of transparent purple ink along both sides of the hood and then started to mask the areas to remain purple with triangles of Tamiya masking tape. After repositioning a few, I found the purple was lifting straight off the plastic. Not surprising really, you would normally use a primer before laying down any acrylic paints on styrene, but you can’t prime clear parts. Well not with regular primer.
I stripped all the purple off again with Fairy Power Spray (great for removing paint from plastic without damage) and then used a light coat of Testors Dull Cote clear matt. This is laquer based and adheres well to the plastic. It also leaves a frosty clear surface that the purple ink was able to bind to much more strongly.

It was then back to masking the purple ‘windows’ – fiddly but made easier by using 2 overlapping triangles for each window, allowing you to get a close fit to each side without having to cut each one exactly to size in advance.

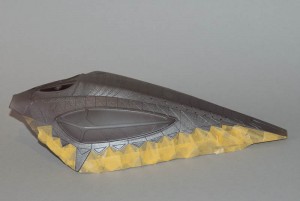
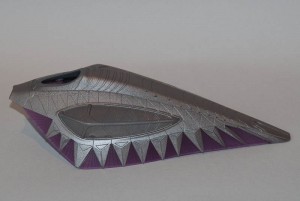
Next is a light metallic coat over the inbetween triangles before masking them off as well for the final opaque top coat.


