TOS Cylon Raider Pt 5

<< Part 4

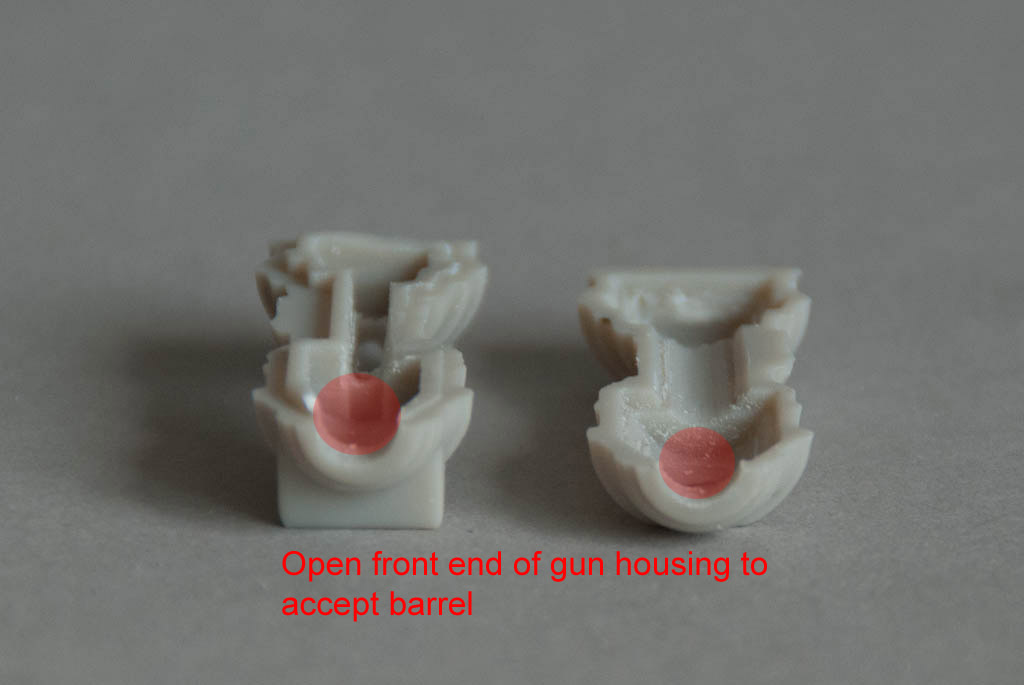
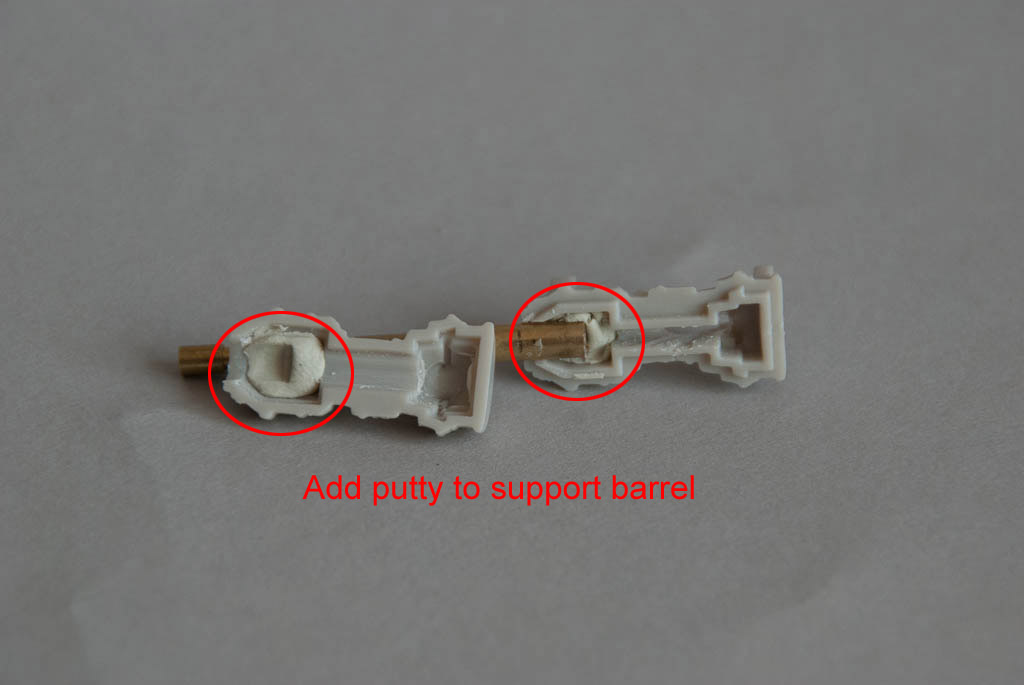
The wing tip halves were glued together and clamped all around the edges to ensure correct registration while the glue set. These seams then required a number of iterations of putty-sand-prime until all traces of the seam had been eradicated. The guns were also glued together and the seams addressed on these too.

DSC_4548

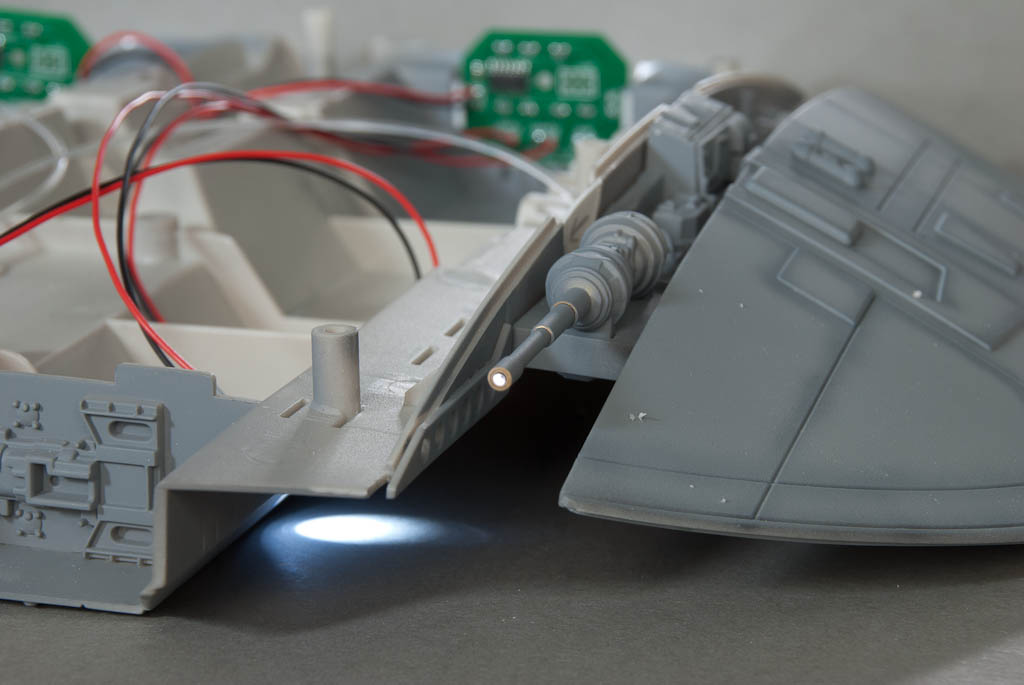
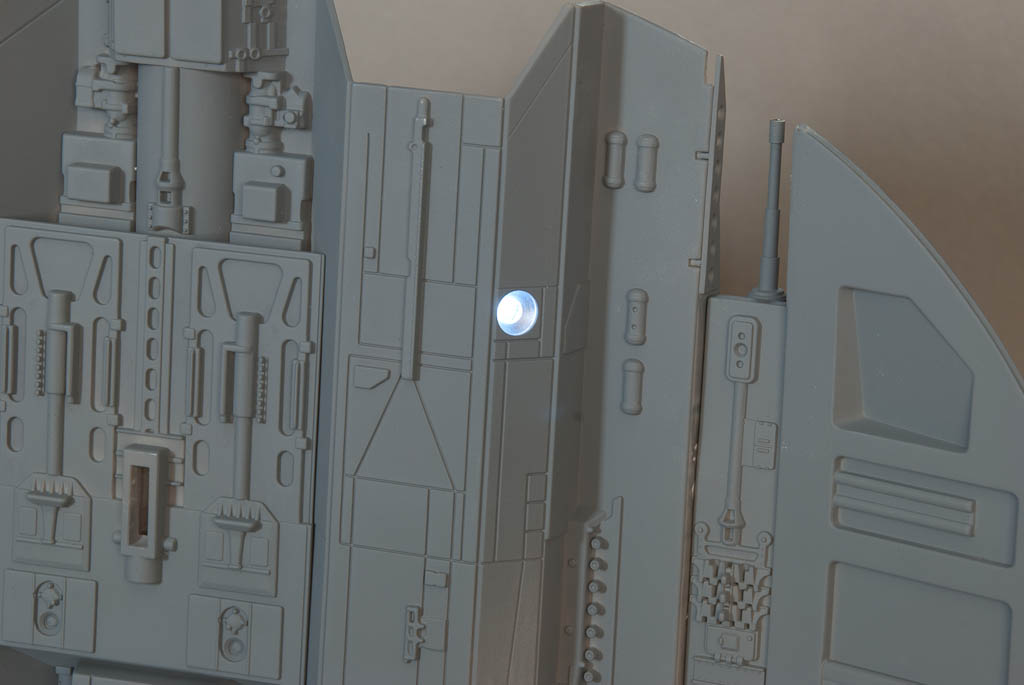
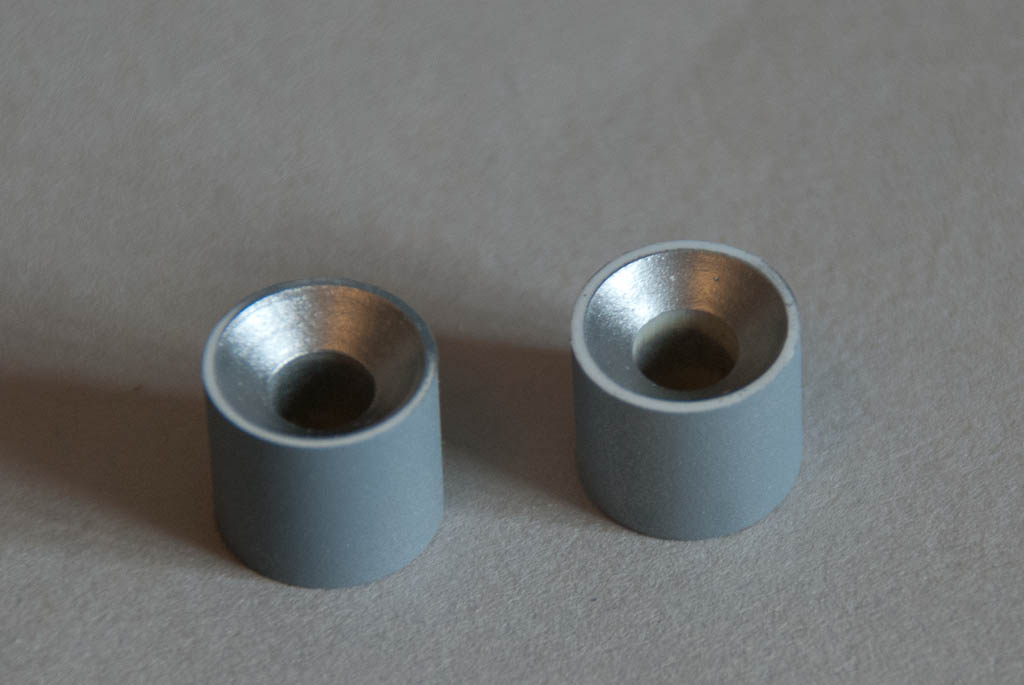
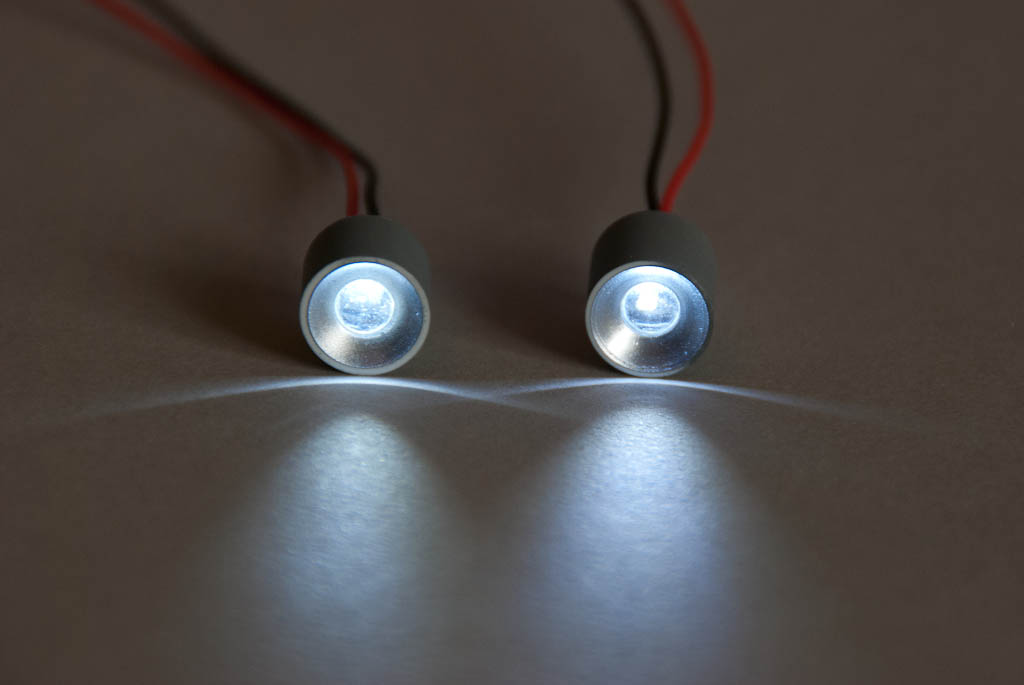
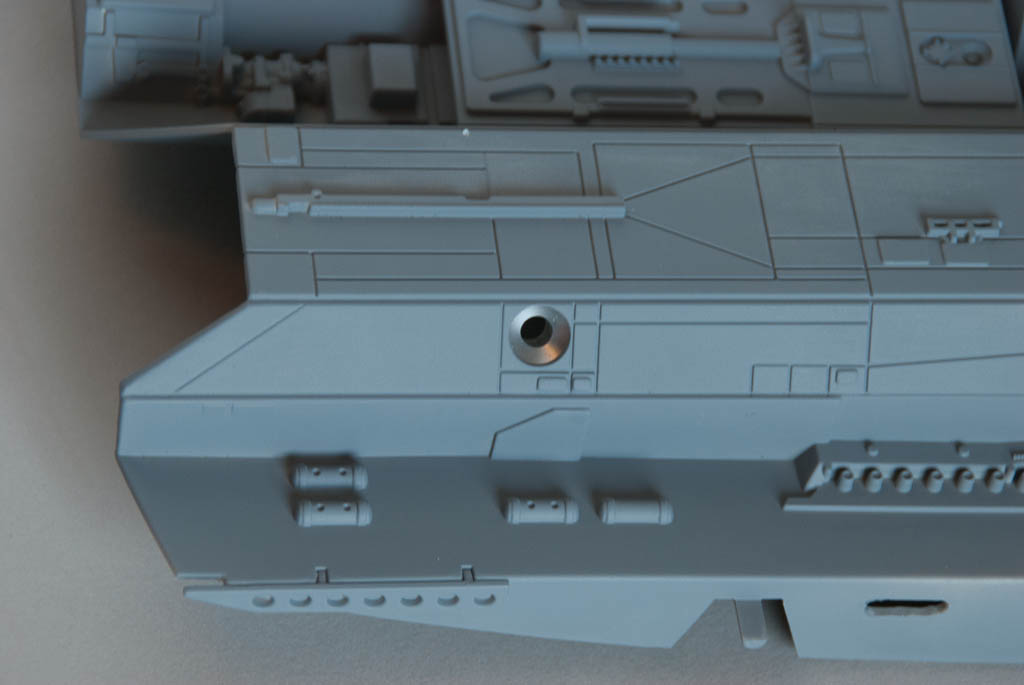
In some shots of the Raider in flight, and on at least one of the studio miniatures, there are additional lights visible on the underside, on the outside of the channels that run from the intakes to the engines – these appear to be mounted in small reflectors recessed into the fuselage. Using a short length of 10mm dia rod, I machined up a couple of these which are glued on the inside of the fuselage and hold a 5mm LED, also driven by the controller PCB.

DSC_4613 DSC_4615 DSC_4616 DSC_4617

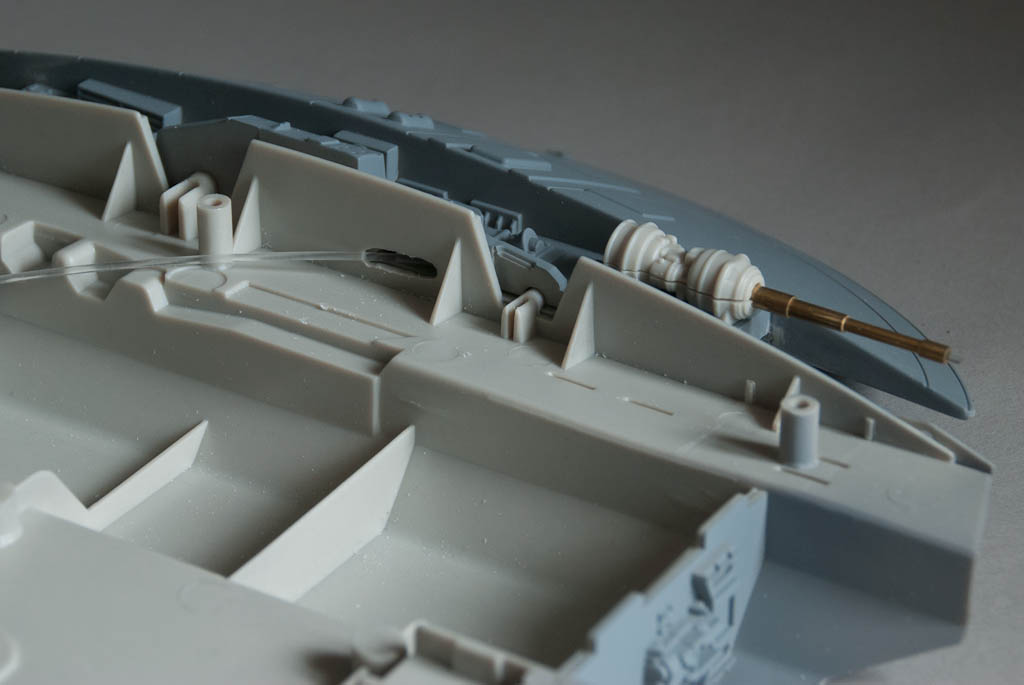
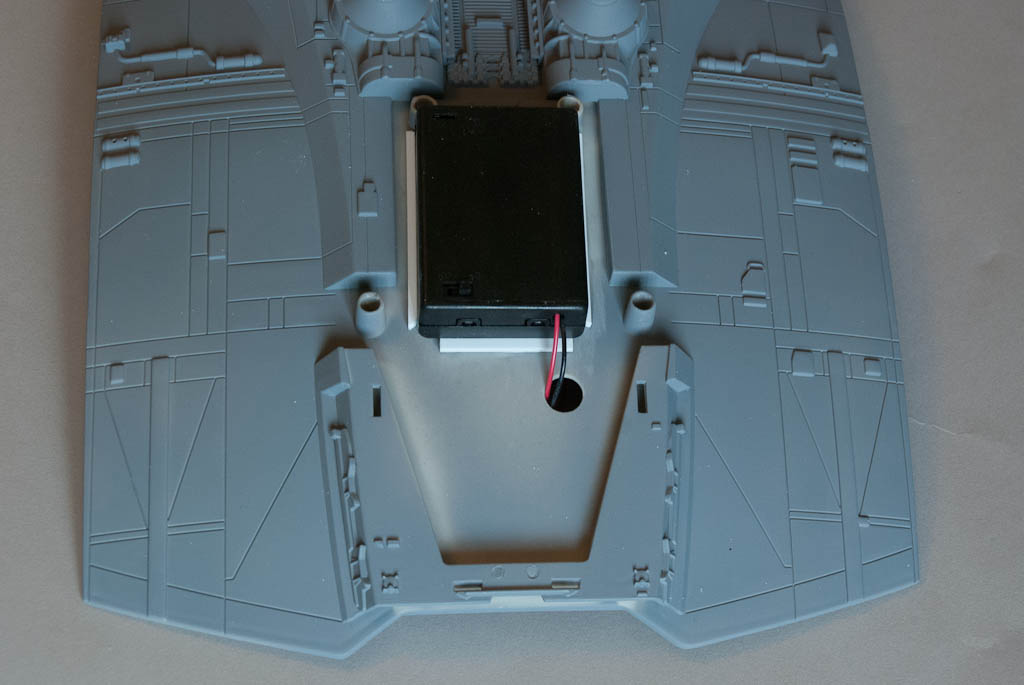
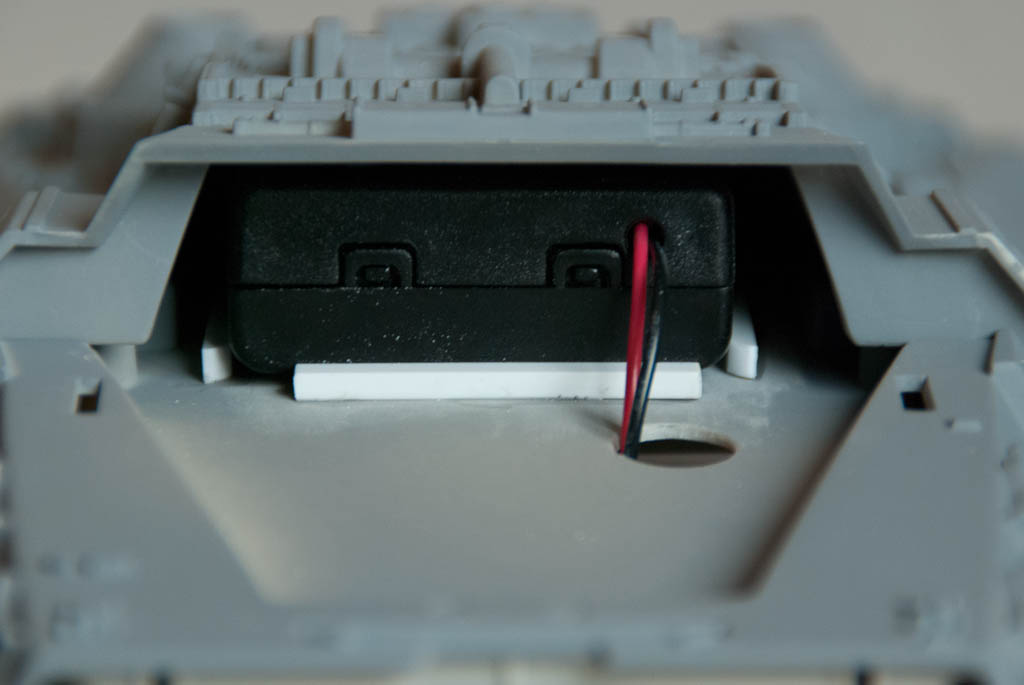
A few strips of styrene were added to the fuselage top to hold the battery box in place – this slips up under the centre console quite happily and the styrene stops it sliding around, but still allow it to be pulled forward for switching on/off and battery changing. A hole was drilled just in front for the wires to pass down into the electronics inside.

DSC_4610 DSC_4612

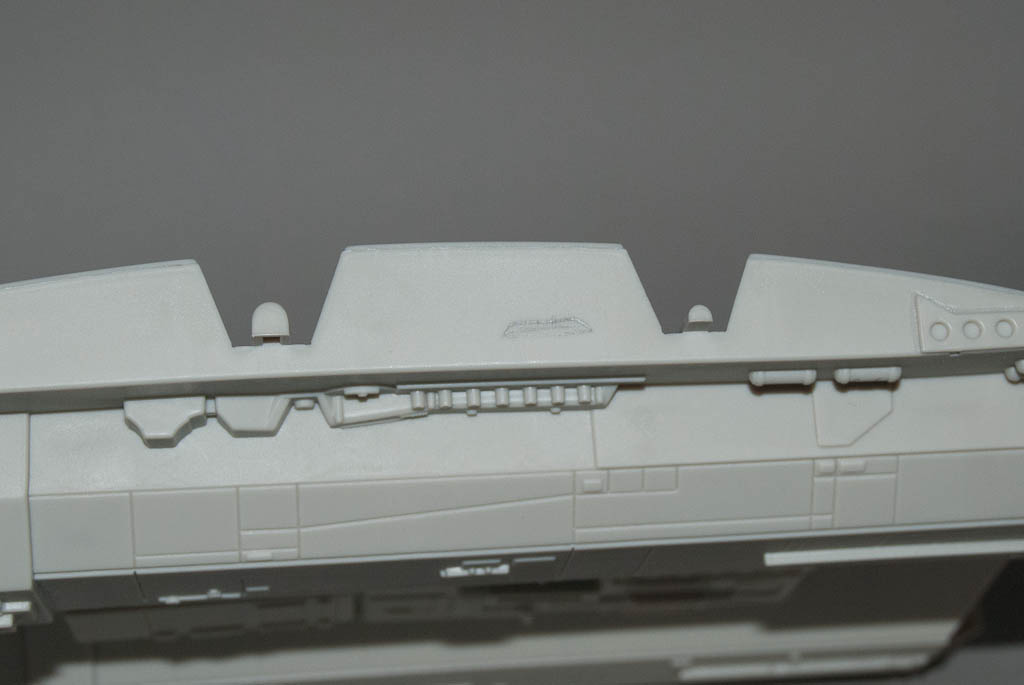
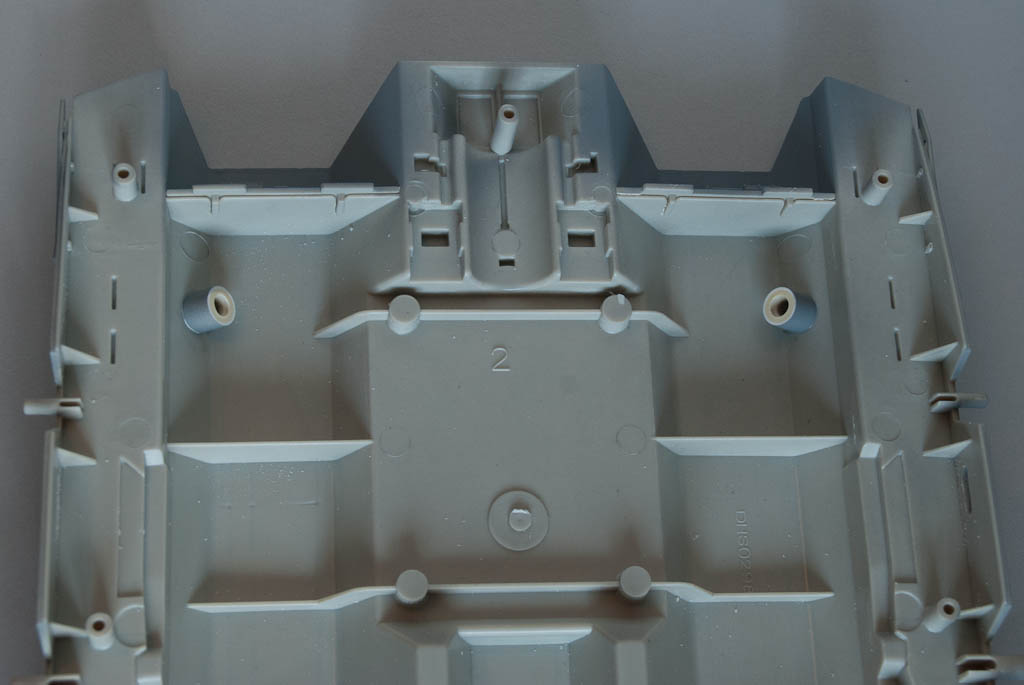
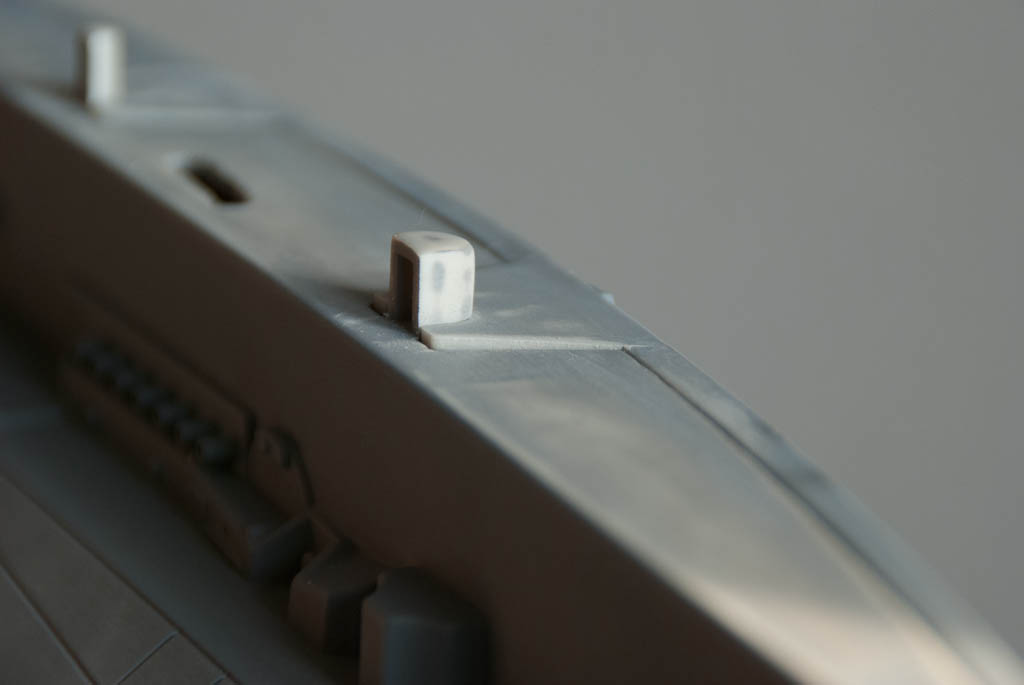
When the 2 halves of the fuselage are placed together, the small “V” tabs on the top half are quite badly out of alignment with the bottom, protruding a couple of mm at the ends. The wingtip sides cover most of the rear tabs, but the front ones remain visible. I decided to cut these tabs off the top half completely, and then just fill in the gap on the bottom half with some plastic card – it was far easier this way to get the whole thing flush and smooth.

DSC_4630

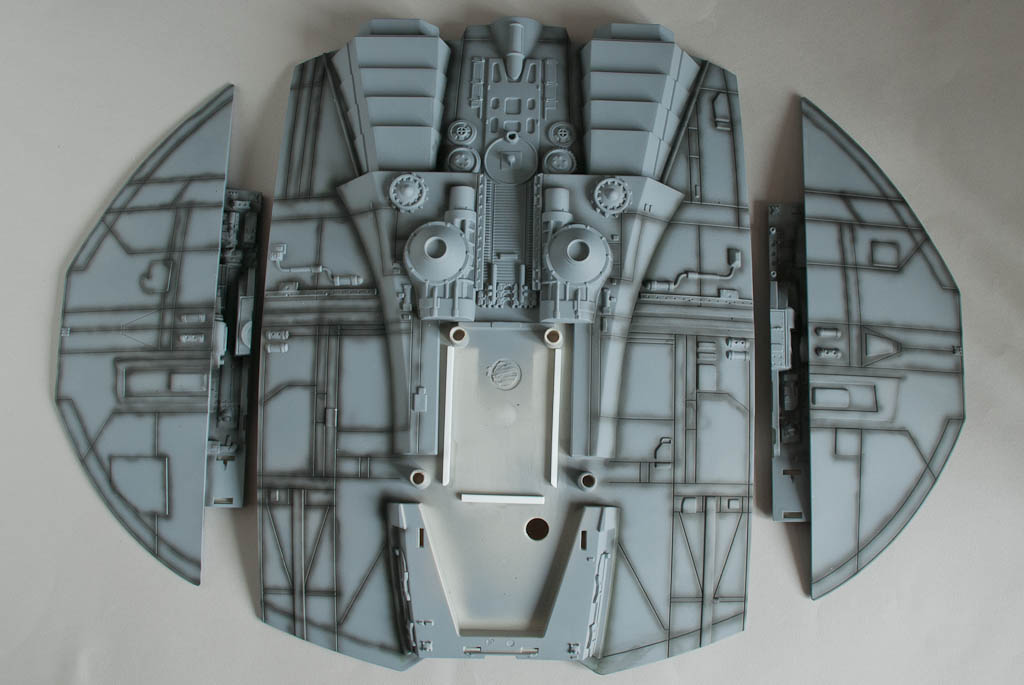
Whilst waiting for some other bits to set, I decided to start doing a bit of pre-shading of the panel lines with black over the grey primer coat. This looks quite extreme but once the top coat goes on, most of it will having been covered up again, leaving just a hint of depth.

DSC_4619

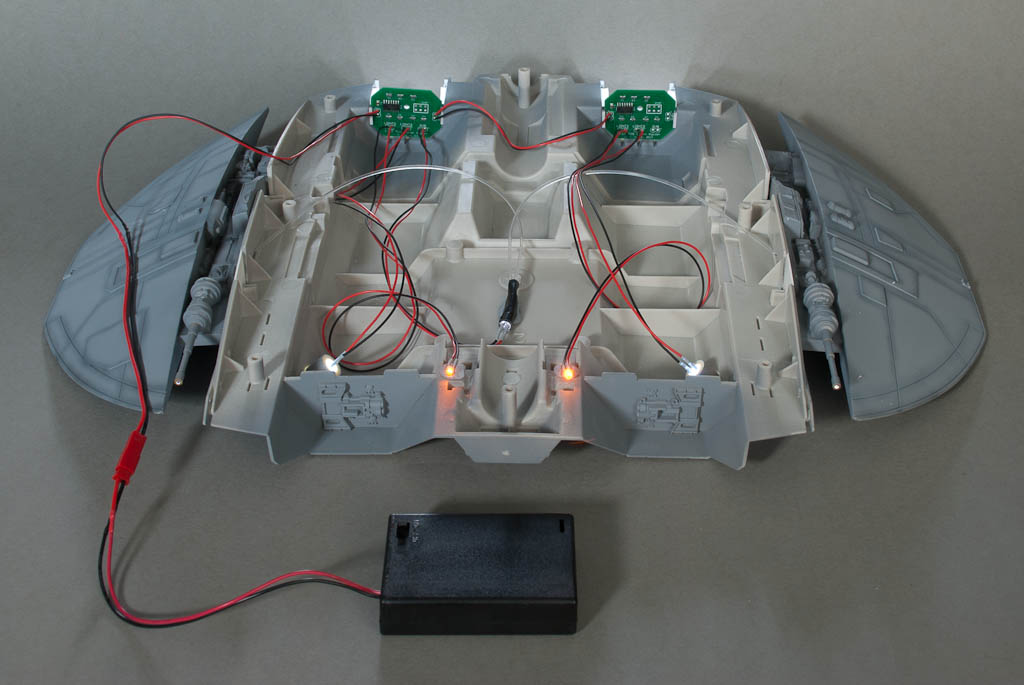
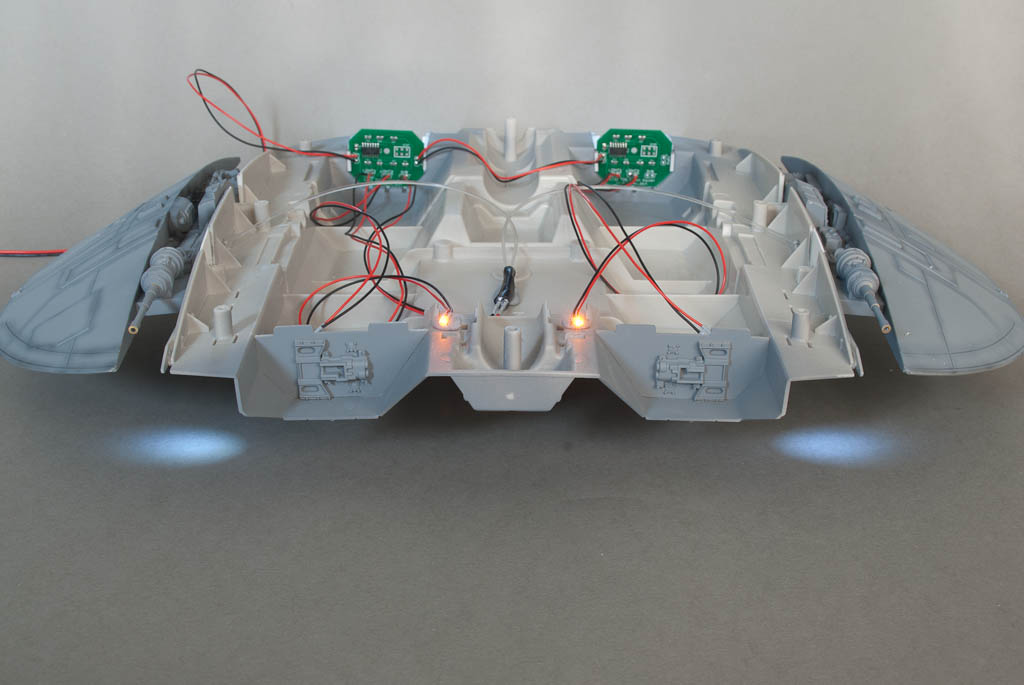
A quick final test of all the lighting in place

DSC_4662 DSC_4668 DSC_4669 DSC_4670 DSC_4672

Part 6 >>

TOS Cylon Raider Pt 4

<< Part 3

The guns are to be lit using 1.5mm fibre optic, connected to the gun LED inside the fuselage. The guns are moulded in 2 halves, but one half has the complete solid gun barrel which makes it much more difficult to hollow out than if it was also in 2 parts. It could be possible to carefully drill out the centre of the barrel but I decided it would be much easier to make new ones from brass tubing. The barrel has 3 different diameters along it’s length – I found that brass tube in 3/32″, 1/8″ & 5/32″ is almost an exact match for the kit barrel and each section of tube slips over the next smaller diameter perfectly. All the bits of tube were cut and assembled into the new barrels with a touch of superglue. I made them 1/4 longer than the protruding bit of the kit parts so that they could be embedded inside the gun body.
DSC_4549
The plastic barrels were sawn off and a 5/32″ hole was opened up in the end of the guns – I just used a round file on each half until the hole was the right size. I added a small ball of putty inside the front of each body half, inserted the brass barrels to the required length and then squeezed the whole assembly together, making sure the barrel protruded straight out and was not drooping, then gently separated the body again and put aside for the putty to set.
DSC_4581DSC_4578DSC_4577
The 1.5mm fibre optic is the perfect size to fit inside the gun barrel but because it is quite thick, it is not very flexible. This creates a few issues trying to get the fibre into the gun. It needs to come from the main body, into the wing tip section, and then up through the gun mounting peg and into the barrel. Due to the inflexibility, it’s necessary to cut angled slots in the gun body and mounting location of the wing tip so that the fibre will pass through more easily without tight bends. I started cutting a slot in the bottom gun body piece and then widened and angled it using a thin round file – the goal was to get as shallow a path as possible up into the body.
DSC_4585DSC_4584DSC_4583
Similarly where the rear mounting foot fits into the hole in the wing tip upper section, I created another angled slot to match up. When the 2 pieces are together, the fibre can then pass up from inside the wing tip to the gun body with as little bending as possible, yet still be almost totally invisible from the outside.
DSC_4541DSC_4543
To get the fibre from the main body into the wing tip, a hole is needed in each. A suitable place was selected in the side of the wing tip and a slot opened up with a file. Holding the wing tip up to where it attaches on the main body, it’s easy to mark where the corresponding hole needs to be.
DSC_4535DSC_4538DSC_4539
Finally a check that everything lines up – the fibre goes through the wing tip side, up into the gun body, and out of the barrel.
DSC_4582

Part 5 >>