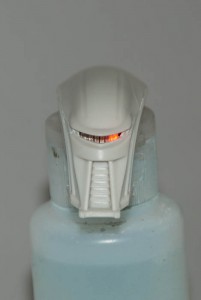
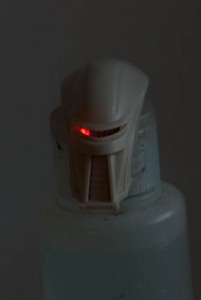
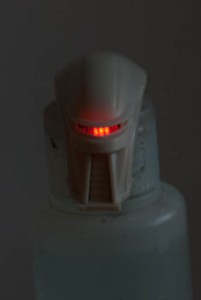
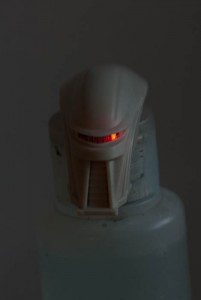
Here’s a quick test with the module fitted inside the head and the rest of the kit roughly taped together. Just the battery remains outside.
Monthly Archives: March 2012
Cylon Raider Video
Here’s a quick video of the Cylon lighting module in action!
Cylon PCBs are IN!
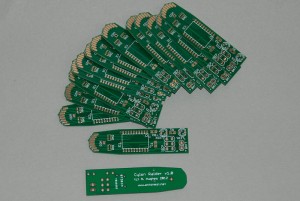
I get home a couple of hours before heading off across thecountry for Southern Expo this weekend to find the the PCBs for the Cylon raider lighting have finally arrived!
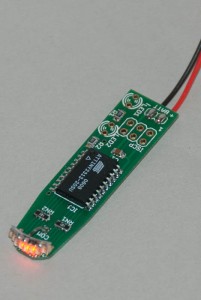
I’ve been hoping they would come all week when I had time to build one for the show – now I’ve been dashing around like a mad thing trying to do it NOW as well as all the other show prep. But I managed to put one together (using a home made acetate sheet solder paste stencil) and wouldn’t you know it it worked first time!! Talk about chuffed!
Here it is just blu-tacked into the head – it’s still going to need a bit of plastic removing from inside for a really snug fit, but you get the idea.
Here’s some shots of it roving away – I don’t have time to do a video right now but will do as soon as I get back from the show.
Tripod Hood Painting
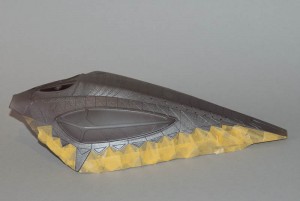
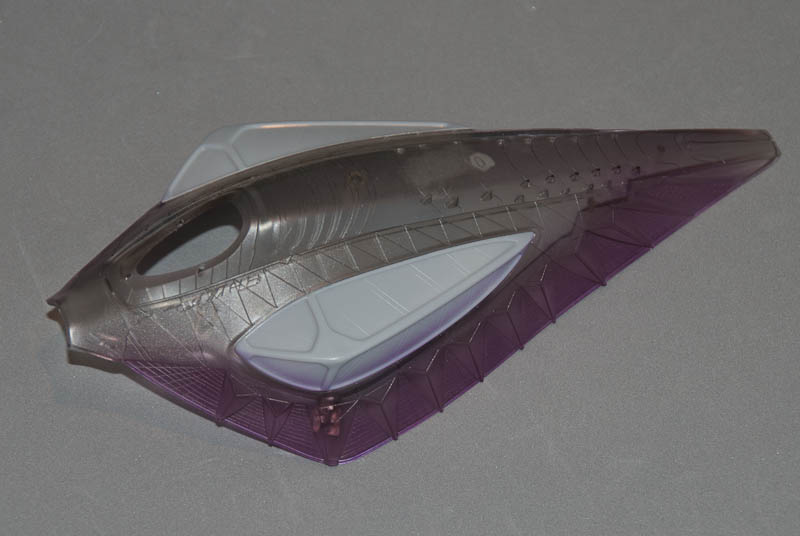
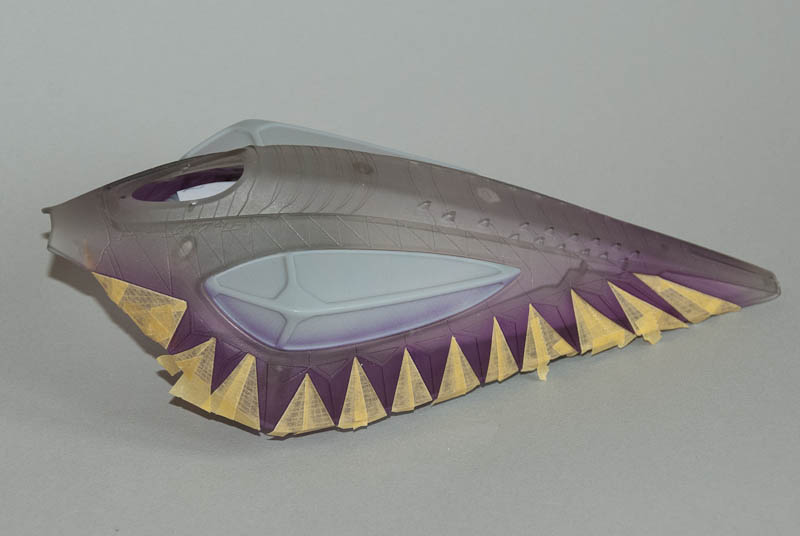
Spent some time on the Tripod this weekend and finished the masking and painting of the hood. After the masking of last time, a light coat of oily steel was misted over the triangles along each edge. This was allowed to dry and then these triangles were also masked off thus:
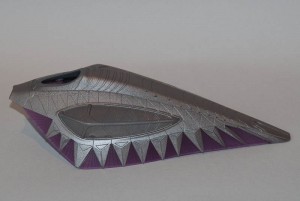
The remaining areas of the hood need to be totally opaque. First of all a couple of coats of mid grey were applied, holding it up to the light to see where the paint was still a bit thin. Then a couple of final coats of oily steel were added over the grey. Once dry all the mask was carefully removed to reveal the purple sections and the translucent bits between them.
Holding the hood up to the light, you can see the translucent effects nicely.
Ecstasy Finished
The nameplate is repaired and painted. In the end I dripped tiny blobs of Mr Dissolved Putty into each pinhole and let it dry, repeating as necessary until the holes were filled (this putty shrinks about 20% as the solvent base evaporates). Then the surface was sanded smooth and any other overfill taken care of. Here’s the result:
The finished kit can now been seen in the Gallery.
Cylon Raider Engines
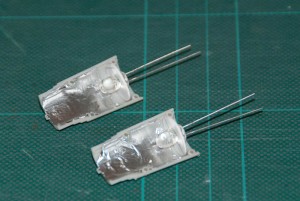
While I wait for the first batch of PCBs to be manufactured, I’ve started work on the engines and how I’m going to mount the LEDs inside them. Given these will be high brightness types, light leakage through the plastic can be a problem, even when painted. The best approach is to use something totally opaque on the inside of the parts. Kitchen foil fits the bill nicely and it will help reflect the light around the inside of the engine.
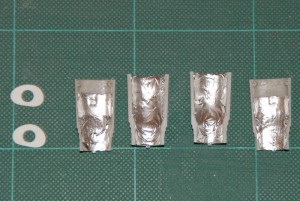
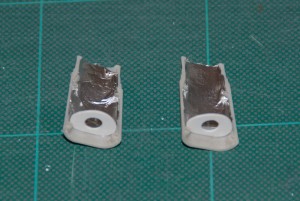
I glued a small piece of foil into each engine half with PVA, making sure it was burnished into all the corners and then trimmed off the excess once it had dried. I also made a couple of small bulkheads to go into the back of the engines – I used the kit pieces as a template to draw onto some 0.5mm styrene and then sanded them to fit inside snugly. A 5mm hole was drilled in the centre of each for the LED to poke through.
Handy tip – it’s really hard to drill neat holes in thin styrene without the drill bit snagging if you are doing it by hand, or the styrene melting from friction heat if using a hobby drill. In this case I drilled a small (1.5mm) pilot hole and then used a tapered reamer to enlarge the hole by hand until it was exactly the right size for a snug push fit.
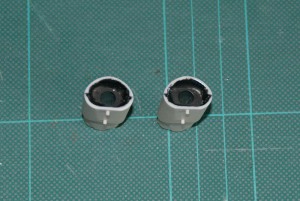
A strip of the foil was removed at the back of the engine so the bulkhead could be glued in place. The two engine halves were then stuck together and allowed to dry. There was still a bit of light leakage along the seams so an extra strip of foil was glued in on each side to cover these.
The bulkheads were secured fully in place with an extra bit or 5 min epoxy (you don’t want to push them out when fitting the LEDs later!) and then the area behind them was painted black – any excess light out the back needs to be blocked. I shall probably cover over the back ends completely one the LEDs are fitted.
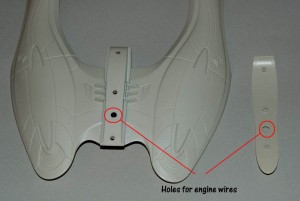
The wires for the LEDs need to come down from the module in the head – I drilled a 6-7mm hole through the body section and the underside head plate midway between the two rear mounting lugs on each to ensure the holes matched. From here you can feed the wires down to the back of the engines without further surgery.
I still need to think how / where to extract the battery wires. I’ve thought about a 2mm power plug/socket arrangement and a new base, but it would be nice to use the original stand too. Does it really need to be removable? Makes packing for shows easier, but it’s not the end of the world. I could run a couple of strands of wire-wrap wire down the back of the stand arm, and even fit a single 3V CR123 sized cell under the base… Food for thought.
Pegasus War of the Worlds Tripod
This was a Christmas present from Kathy and another project ripe for lighting. The top piece of the hood is moulded in smoky clear plastic which is a really nice touch. Studying the film, there is a pinky-purple light that is visible through the triangles along the edge of the hood, with the rest being metallic – although the triangles between the purple triangles appear to be semi-metalic, semi-translucent if you look carefully!
I started with a light coat of transparent purple ink along both sides of the hood and then started to mask the areas to remain purple with triangles of Tamiya masking tape. After repositioning a few, I found the purple was lifting straight off the plastic. Not surprising really, you would normally use a primer before laying down any acrylic paints on styrene, but you can’t prime clear parts. Well not with regular primer.
I stripped all the purple off again with Fairy Power Spray (great for removing paint from plastic without damage) and then used a light coat of Testors Dull Cote clear matt. This is laquer based and adheres well to the plastic. It also leaves a frosty clear surface that the purple ink was able to bind to much more strongly.
It was then back to masking the purple ‘windows’ – fiddly but made easier by using 2 overlapping triangles for each window, allowing you to get a close fit to each side without having to cut each one exactly to size in advance.
Next is a light metallic coat over the inbetween triangles before masking them off as well for the final opaque top coat.
Face Off
Almost finished Ecstasy now – I’ve added shading around all the creases and folds using brown & chestnut red pastels, as well as into the cracks coming up from the stone base. Lips and nails were painted with a dark scarlet and the eyeshadow was applied using mid and dark grey pastel.
The only thing left to do now is repair and paint the nameplate moulded into the base. This suffers the same problem of a multitude of pinholes. I should have tackled these at the same time, but they are much more fiddly due to the raised lettering. So now I have the even more fiddly task of repairing them without damaging the rest of the paintwork…
