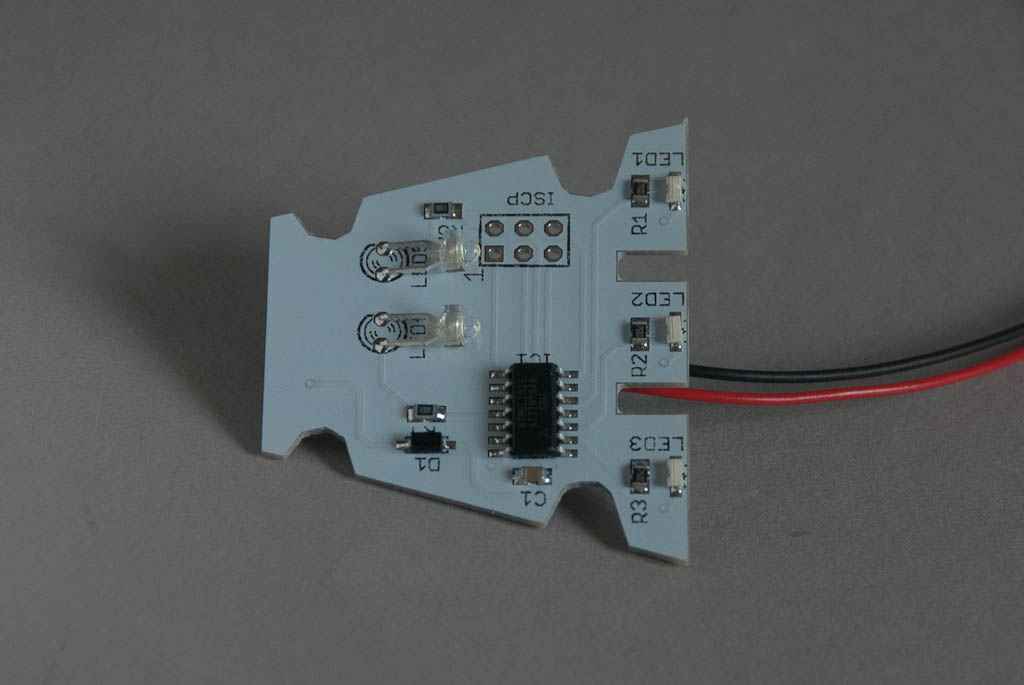
Small amount of progress before Christmas got in the way. After trying to use 0.5mm fibre for the smaller engines I gave up due to the problems with bending them up to the LED – they were just too stiff over such a small length. So I downsized to 0.35mm which works better but still had some issues with the off-centre LED placement, so I have decided to take the hit and do a PCB revision with a few tweaks:
- Small engine LED moved to centre and brought back a few mm to help with clearance around the fuselage top.
- Larger slots at back of PCB to aid routing lower fibres up to top of PCB.
- Increase clearance around side holes for a better fit.
- Rework main engine LED pads to allow a different type of SMD package, and remove unused through-hole pads.
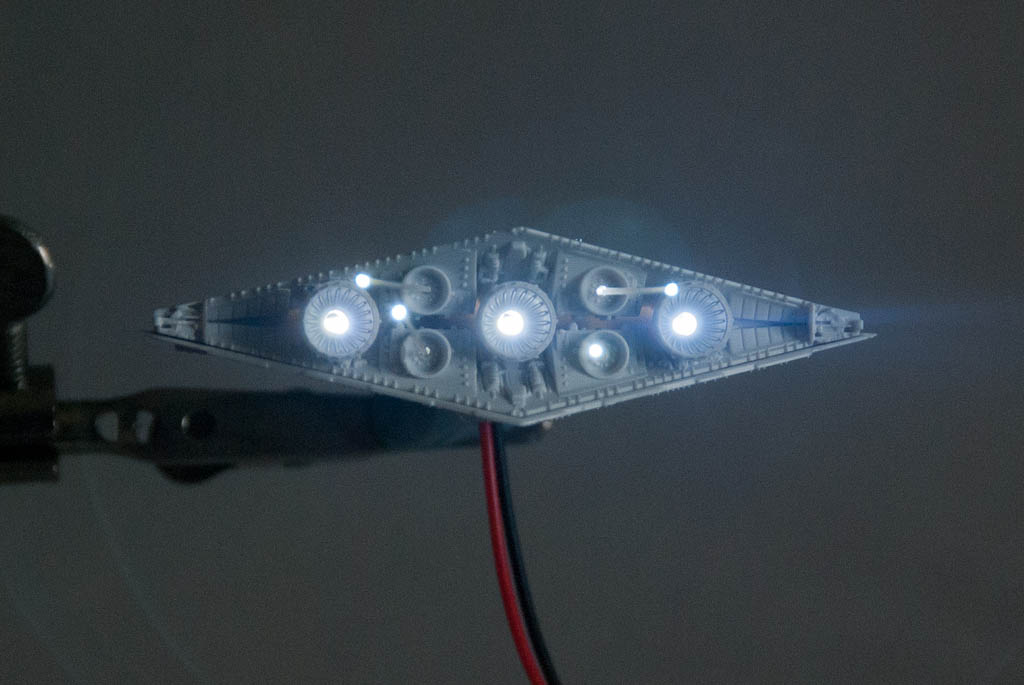
Just waiting for the new boards to arrive, but here’s the old one in action with the fibre.
Time passes..
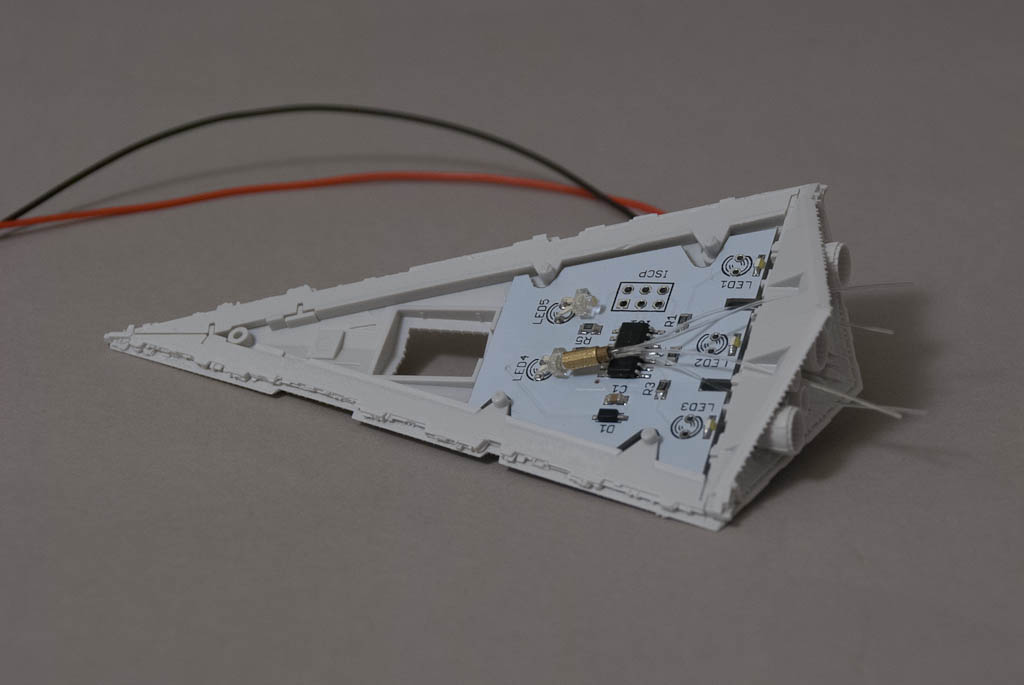
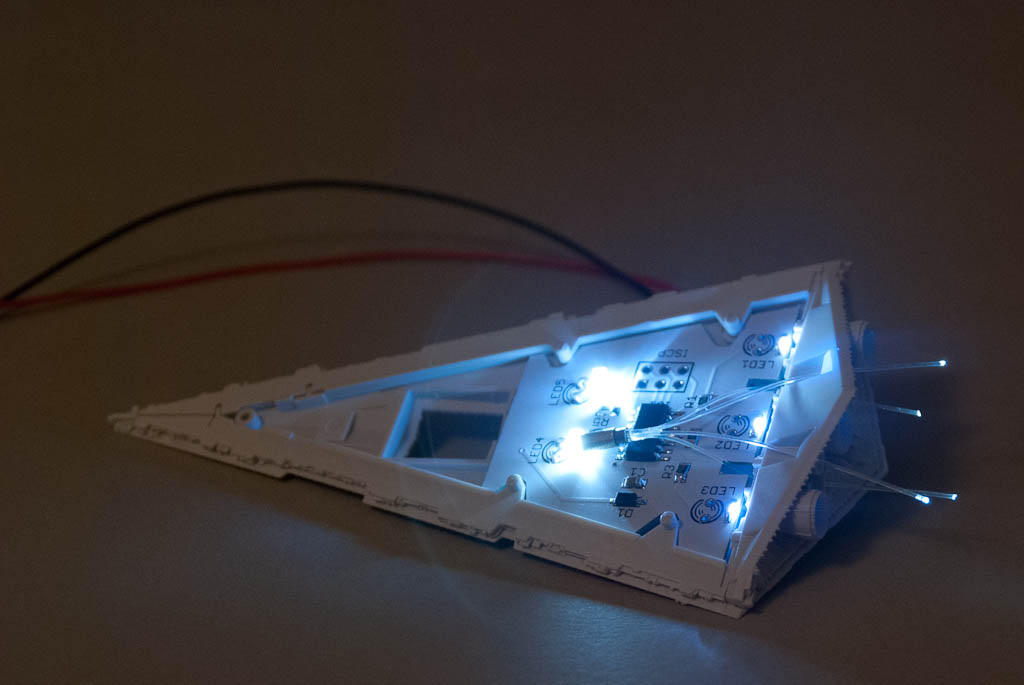
The new boards have arrived, so quickly made one up for comparison. Having the engine LED in the centre is much better, and I was able to go back to the 0.5mm fibre for the small engines. Everything also fits better inside, and the top of the Destroyer fits on with ease.