Zvezda/Revell Star Destroyer Lighting Module

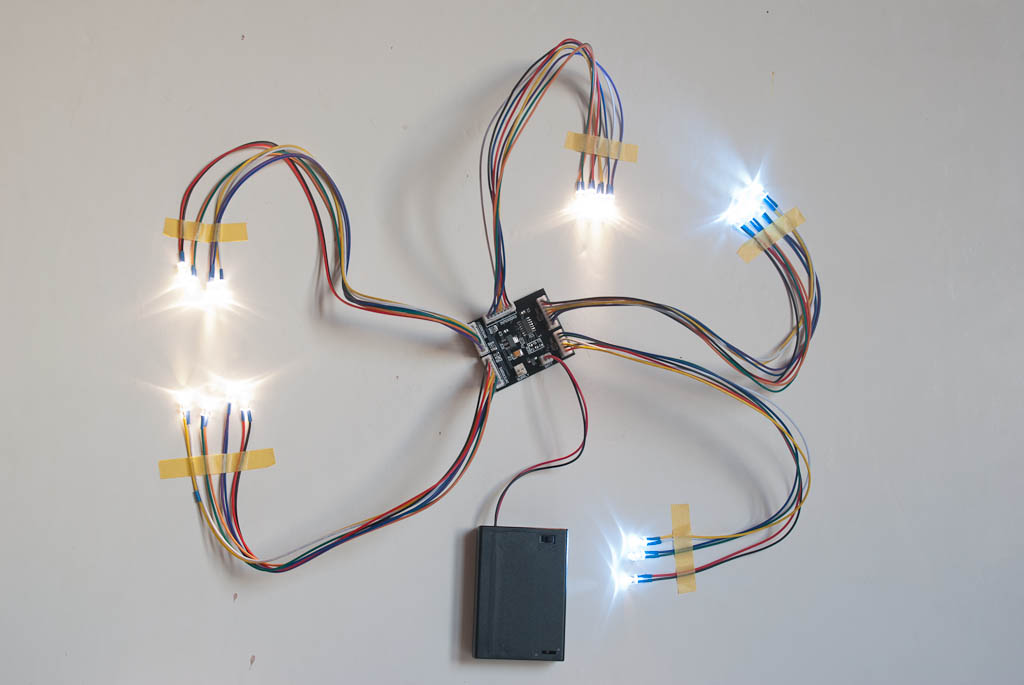
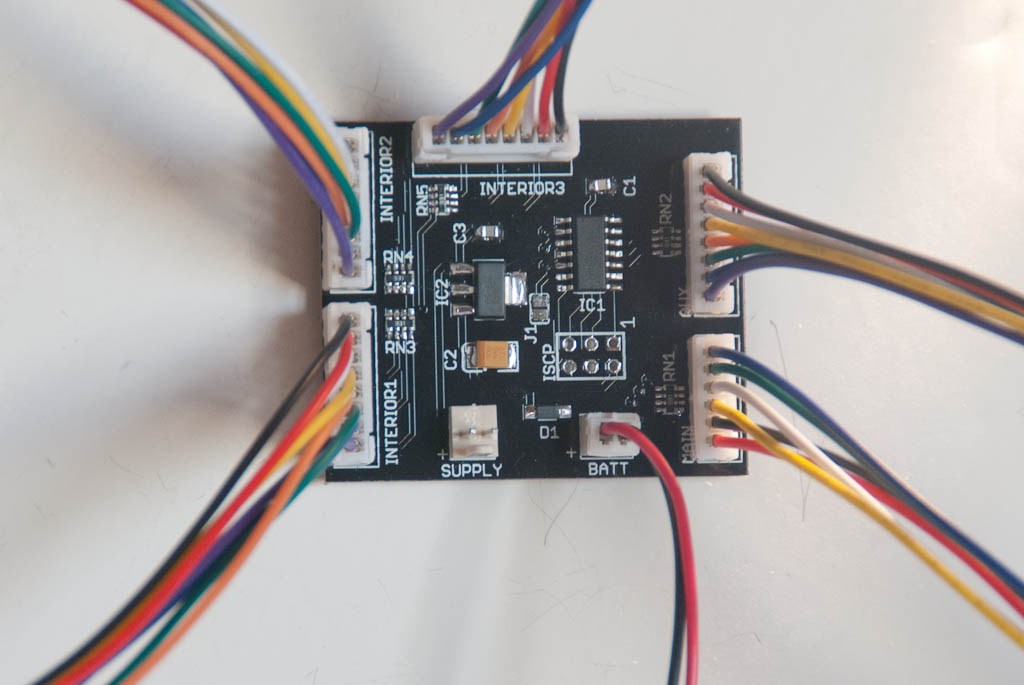
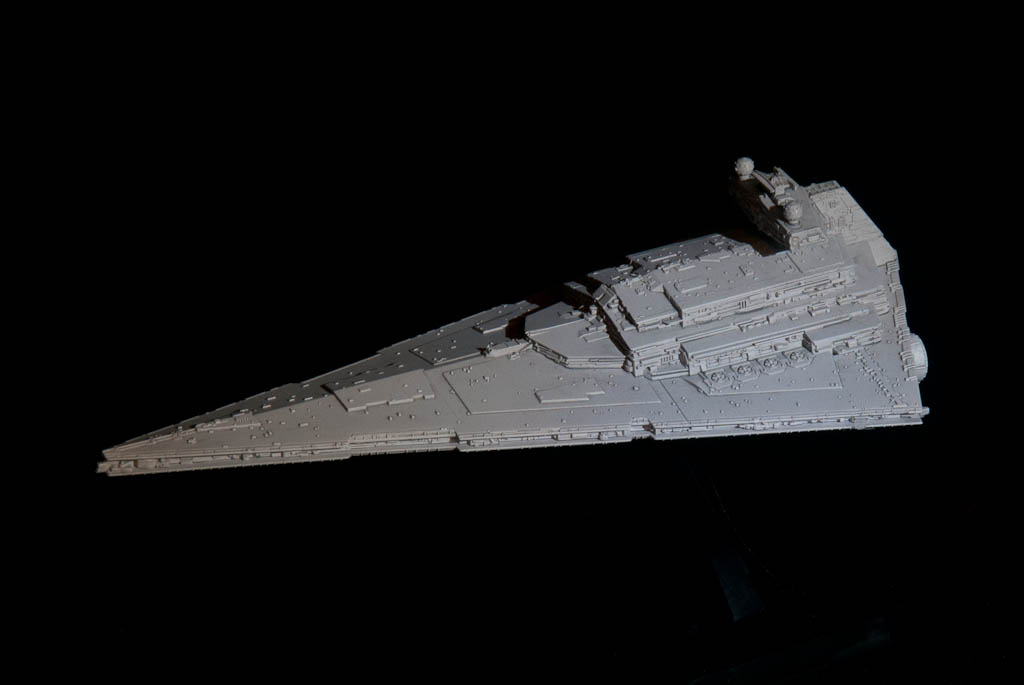
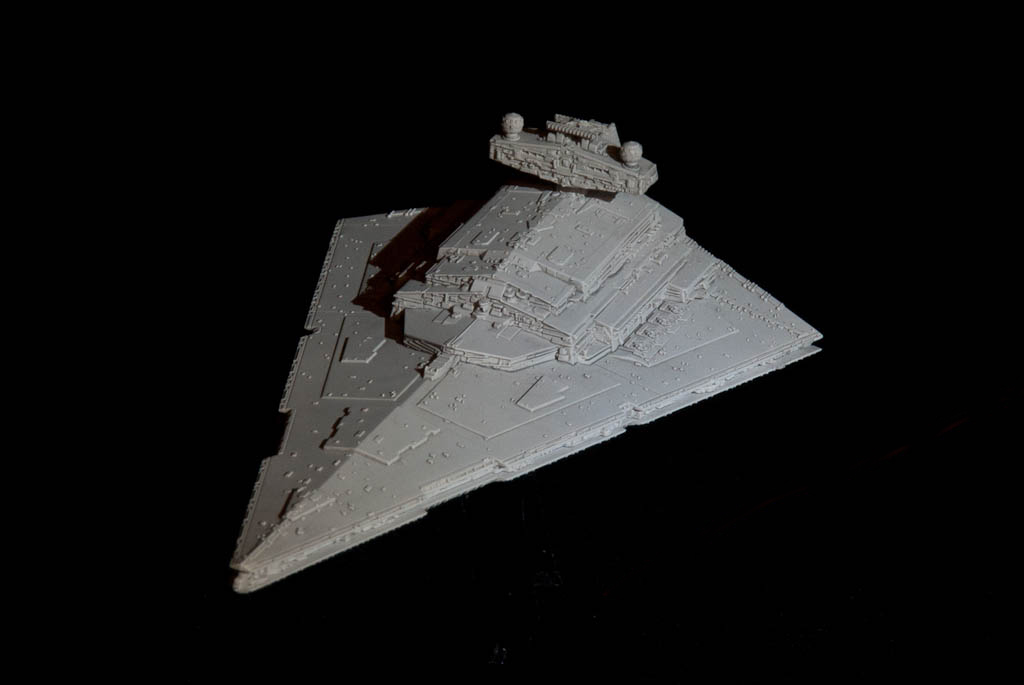
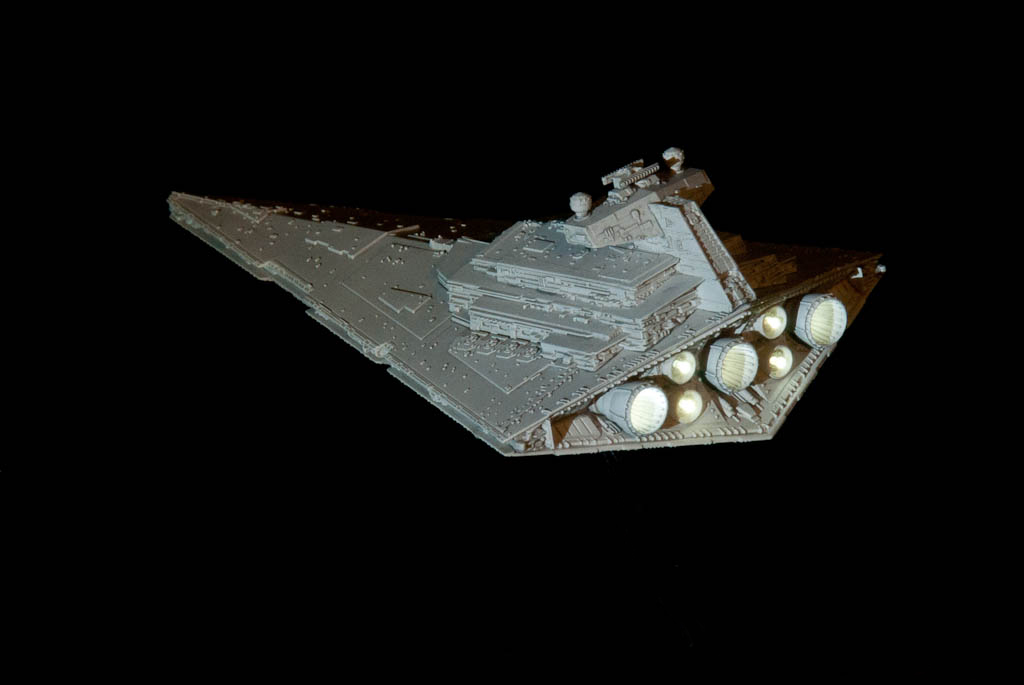
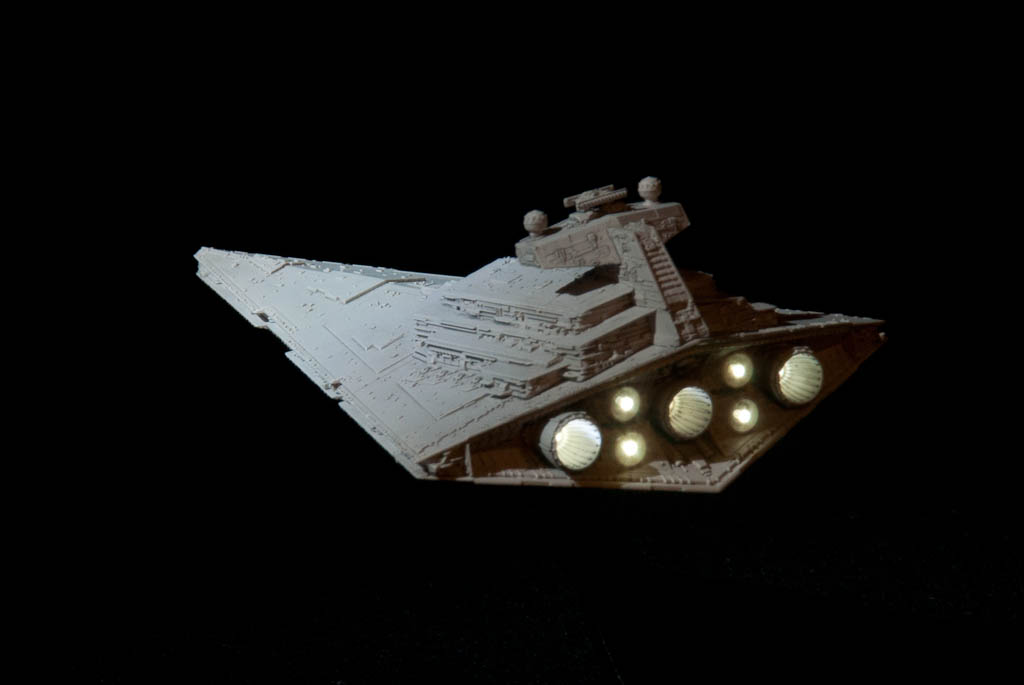
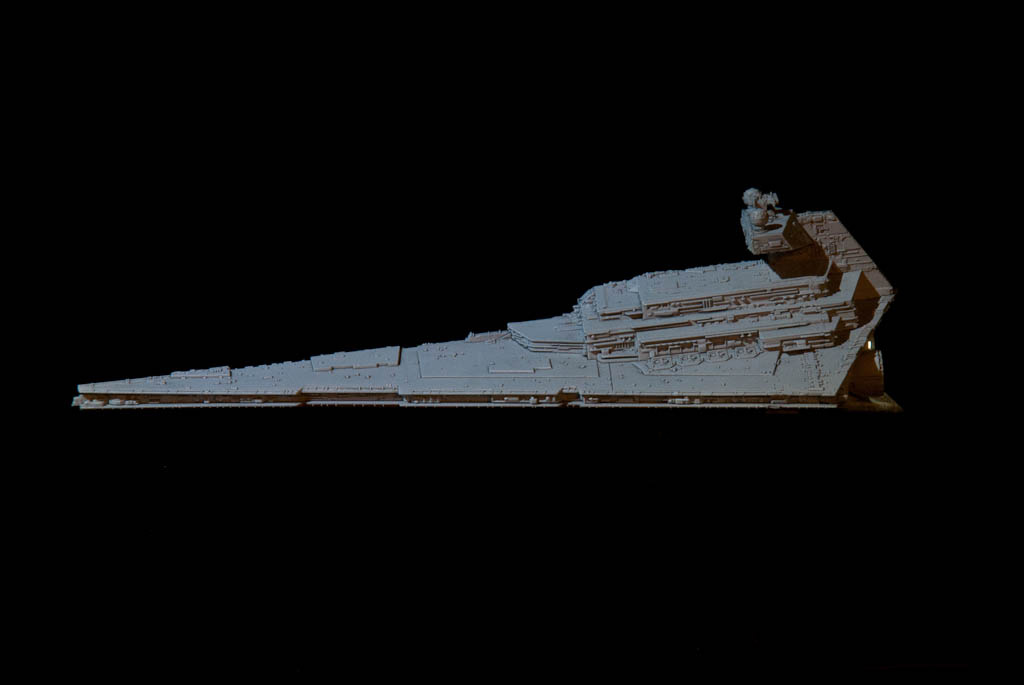
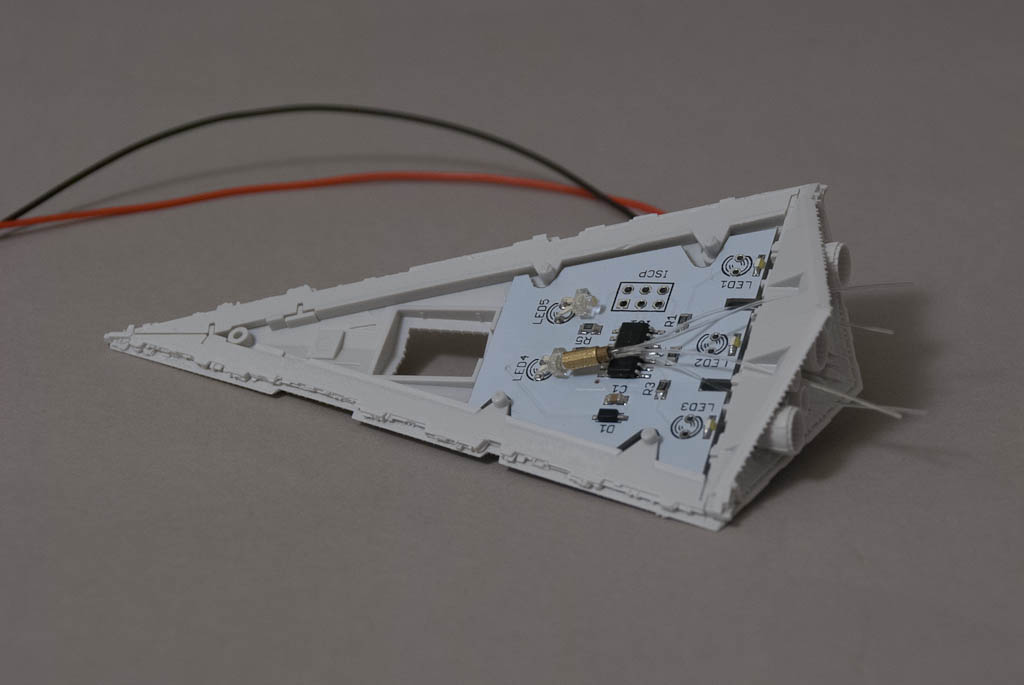
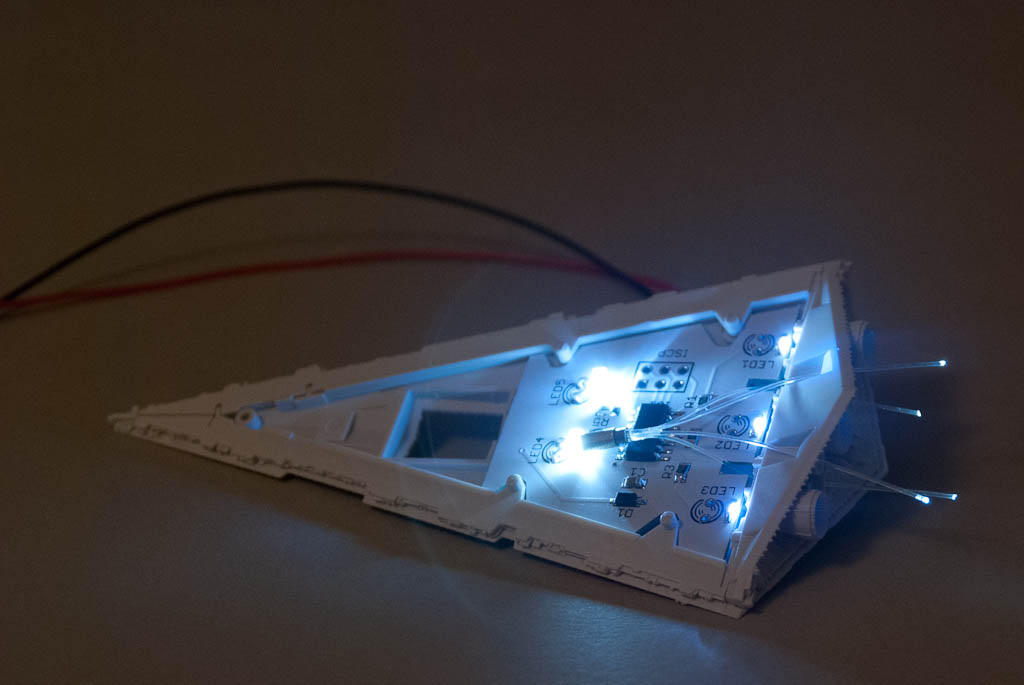
Whilst waiting for the Zvezda Star Destroyer to become available through Revell in Europe, I have started putting together a speculative lighting controller board.

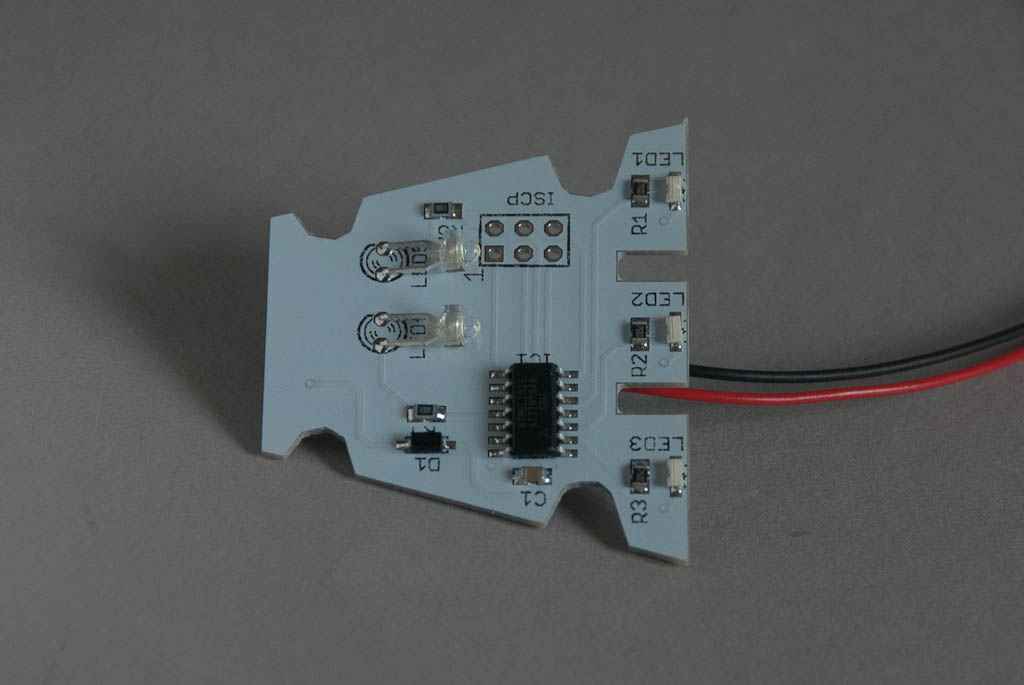
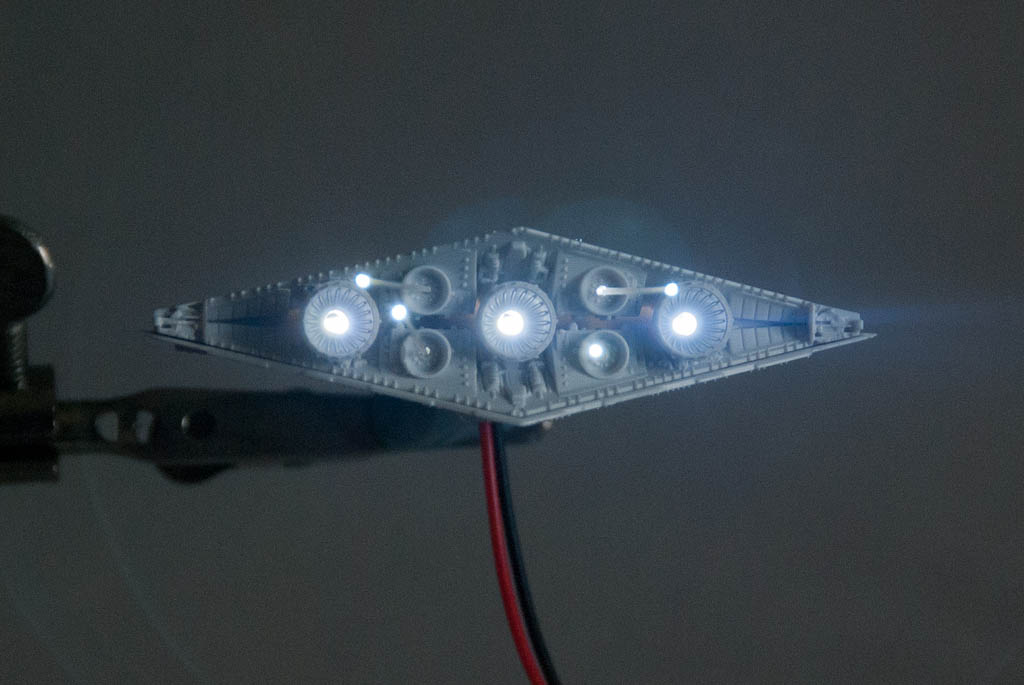
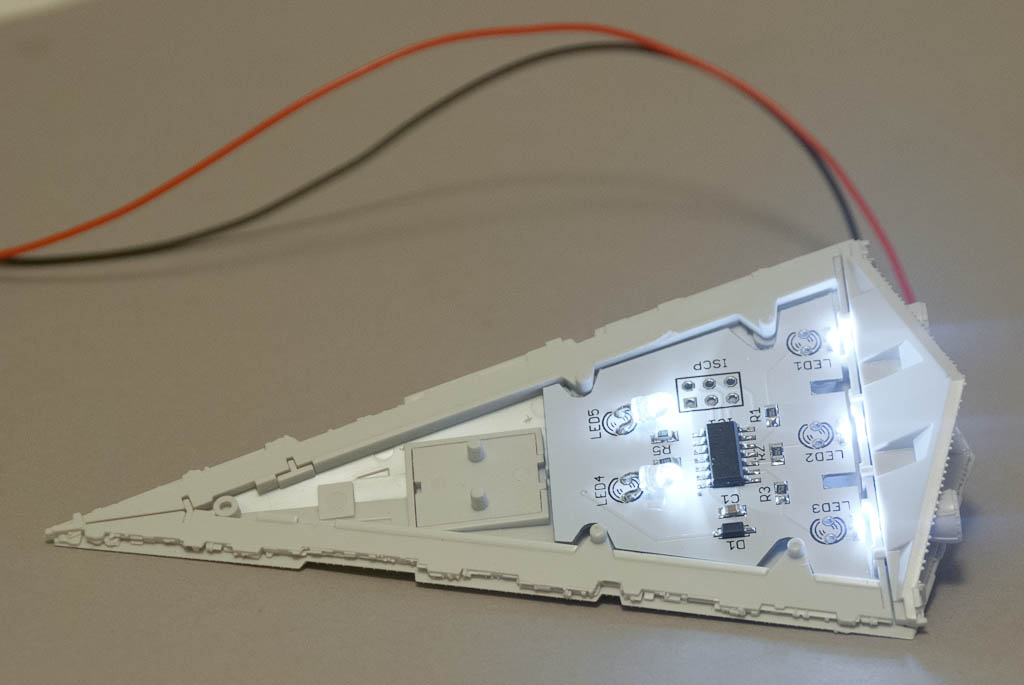
This features a flickering effect for the 3 main engines and the 4 auxiliary engines. It also provides 12 additional static (non flickering) LEDs to provide light for the windows via fibre optic strands.

The board has been designed primarily for battery power and has a total current draw of around 60mA – which should give may hours of operation on a set of 3 AAs. Alternatively there is also an on-board voltage regulator that can be fed from a 7-12v wall adaptor.

This test build features cool white LEDs for the engines and warm white for the windows

Bandai Star Destroyer Part 3

<< Part 2

Everything is just about there. The fibre marries up with the central LED much better now. I’ve added some short lengths of 1.5mm fibre at the rear of the 3 main engines to act as light pipes – this gives a much better effect inside the engine bell than just having a hole.

The last thing to resolve is the wires for the battery supply. I want these to run down through the stand, but it’s just a bit too small to get 2 bits of my smallest stranded cable down. For now I’ve used 2 bits of solid core wire wrap wire – these are plenty small enough, but will not survive much manhandling or moving of the ball & socket joint. Need to come up with a better solution…

For now here’s some beauty shots. The ship was primed in a just off-white colour and then given a wash of Concrete Flory Wash. Once dry, the excess was wiped away with a slightly damp sponge & that’s it. I’ve used a focusable LED torch several meters away as a slight source in an attempt to simulate the parallel light of a far-distant sun…

Bandai Star Destroyer Part 2

<< Part 1

Small amount of progress before Christmas got in the way. After trying to use 0.5mm fibre for the smaller engines I gave up due to the problems with bending them up to the LED – they were just too stiff over such a small length. So I downsized to 0.35mm which works better but still had some issues with the off-centre LED placement, so I have decided to take the hit and do a PCB revision with a few tweaks:

  •  Small engine LED moved to centre and brought back a few mm to help with clearance around the fuselage top.
  •  Larger slots at back of PCB to aid routing lower fibres up to top of PCB.
  •  Increase clearance around side holes for a better fit.
  •  Rework main engine LED pads to allow a different type of SMD package, and remove unused through-hole pads.

Just waiting for the new boards to arrive, but here’s the old one in action with the fibre.

dsc_9219 dsc_9218

Time passes..

The new boards have arrived, so quickly made one up for comparison. Having the engine LED in the centre is much better, and I was able to go back to the 0.5mm fibre for the small engines. Everything also fits better inside, and the top of the Destroyer fits on with ease.

dsc_9225 dsc_9227

dsc_9229 dsc_9230

Part 3 >>

Bandai Star Destroyer Lighting Module

I recently acquired Bandai’s new “palm size” Star Destroyer kit – A great little kit!. There’s a tiny bit of space inside so I thought I’d have a go at doing a module for lighting the engines.

There are 3 LEDs that line up directly with the main engines, and a fourth to be used as a source for 4 bits of fibre optic to light the intermediary engines. All of these LEDs are programmed to produce a flicker effect. A final static (no flicker) LED can be used to feed fibre to light windows in the Destroyer, although I’m not sure I’m going to bother with that. Too fiddly!

All the engines need carefully drilling out. I used 1.5mm for the main engines and will be fitting 0.5mm fibre to the intermediaries.

Power wires come off the bottom of the board and are designed to feed out through the stand mount – again these need to be drilled out to accommodate.

So far so good.

dsc_9212

Main engines, rear view

dsc_9215

Part 2 >>